


Pop Filter article
Pop Filter for Beginners: A Complete Guide
A pop filter solves one specific problem — plosive consonants that thump your recording. Here's what it does, how to set one up correctly, and what to expect from it.
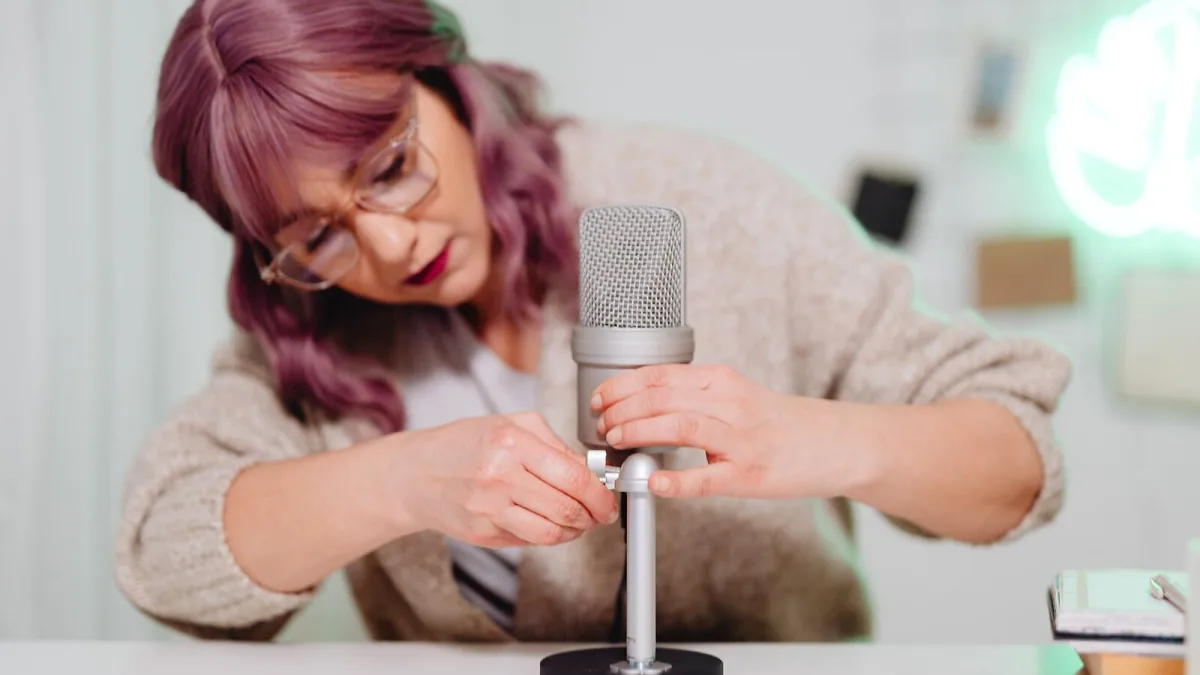
If you've just set up your first microphone and someone told you to get a pop filter, you might be wondering what problem it's actually solving. Don't worry — it's one of those things that makes immediate sense once you've recorded your first take without one. Let's break it down clearly.
What You're Trying to Solve
Certain consonants — especially "P" and "B" — produce a short burst of air when you speak or sing. In everyday conversation, you don't notice it because the air just dissipates into the room. But a microphone is positioned close to your mouth, and its diaphragm (the sensitive membrane that picks up sound) can react to that burst of air rather than the sound itself. The result is a low, thumpy distortion at the start of words like "pop," "bass" or "people."
That thump is called a plosive, and once you've heard one in a recording, you'll spot them everywhere. A pop filter sits between your mouth and the capsule and physically breaks up that air burst before it can cause problems.
Which Type Should a Beginner Buy?
There are three main designs, and you'll see all three recommended online. For a first purchase, keep it simple:
- Fabric mesh on a gooseneck arm — the most common and beginner-friendly type. It clips to your microphone stand, you angle it in front of the capsule, and it works. Widely available from under £10 upwards.
- Metal mesh on a gooseneck arm — essentially the same concept but more durable and easier to wipe clean. Worth considering if you expect to use it regularly.
- Foam windscreen — slips over the microphone grille. More compact, but the positioning isn't as precise. Fine for streaming and podcasting setups where the microphone stays in one place.
If you're unsure, start with a fabric mesh pop filter in the £10–20 range. It will do the job for home vocal recording, podcasting and voice-over work without overthinking it.
How to Set It Up
Getting the position right is more important than anything else. Follow these steps the first time you use one:
- Attach the clamp to your microphone stand — most use a standard thread. Make sure the clamp is tight enough that the arm won't rotate on its own.
- Extend the gooseneck arm and position the screen so it sits directly in front of the microphone capsule — not to the side of it.
- Leave approximately 5 centimetres of space between the screen and the microphone. Don't let the screen rest against the grille — contact can cause vibration and handling noise.
- Aim your mouth toward the screen, not around it. The idea is that the air burst hits the screen and is dispersed before it reaches the capsule behind it.
- Record a short test. Say "Peter Piper picked a peck" or any phrase with plenty of P sounds. Listen back through headphones. If you hear thumps, try moving the screen slightly closer to you (increasing the gap between screen and capsule).
What It Won't Fix
This is worth knowing early, because some beginners expect a pop filter to clean up all microphone problems. It specifically addresses plosives — that's it.
- It won't fix hissy "S" sounds (that's sibilance — a different problem requiring a de-esser or microphone repositioning).
- It won't reduce background noise — traffic, fans, computer hum and room reflections need acoustic treatment and a shock mount.
- It won't fix breath noise, although good microphone technique helps with that.
- It won't improve recording levels — that's your interface gain or preamp.
A Tip on Microphone Angle
If plosives still sneak through after setting up the screen, try tilting the microphone slightly — maybe 20–30 degrees off-axis, so you're singing slightly across the front of the capsule rather than directly into it. RØDE recommends this approach as a complement to physical screening. Combined with the screen in place, it can eliminate plosives that even a well-positioned screen doesn't fully catch.
Maintenance: Keep It Simple
You don't need to do much to maintain a basic fabric mesh screen. Let it dry out between sessions — saliva and moisture can accumulate in fabric and eventually cause it to degrade or smell unpleasant. Keep the screen from touching the microphone at rest. That's about it.
If you're sharing a microphone with others — in a classroom, podcast studio or rehearsal space — have separate screens for different users. A metal-mesh screen is easier to wipe down in this scenario.
You're Now Ready
It is not complicated — a pop filter is one of the few bits of studio gear that does exactly what it says, requires no configuration and makes an immediate, audible difference. Set it up once correctly, and you won't need to think about it again.
Once you're comfortable with the basics, explore the full guide to pop filters for more detail on types and technique. And if you're about to buy one, check the buyer's guide first — or see the best options by budget tier.






Comments