


KRK article
Krk for Beginners: A Complete Guide
A calm, step-by-step start with your first KRK monitors: placement, connections, DSP basics, and giving your ears time to adjust.
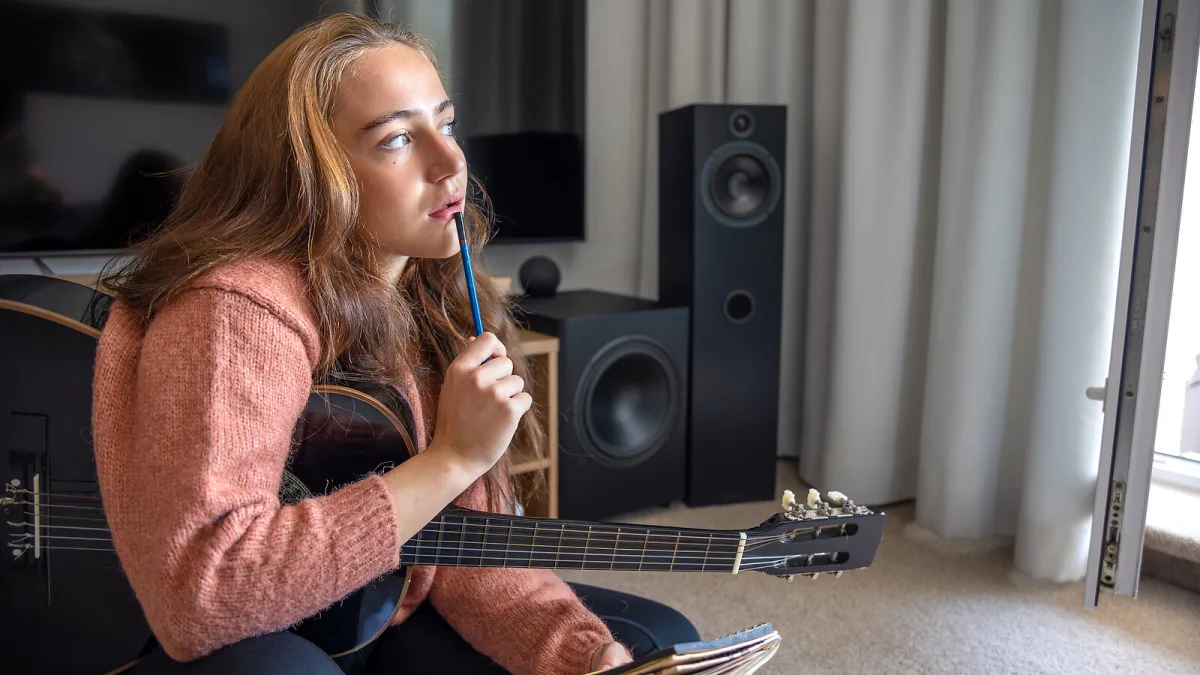
If a shiny new pair of KRK monitors just arrived and you're not entirely sure what to do with them beyond plugging them in, you're in exactly the right place. Take a breath — there's nothing here you can't manage, and getting the basics right will make a bigger difference than any setting you'll fiddle with later.
What You've Actually Got
KRK monitors are "active" or "powered," which simply means the amplifier is already built into each speaker. There's no separate amp to buy or wire up. You just need a source — an audio interface, mixer or laptop output — and a cable to connect it, and you're ready to listen.
What's in the Box (and What Isn't)
Depending on the model, your KRK monitors will include the speakers themselves and a power cable each. What's usually missing, and worth budgeting for early, is:
- A pair of balanced cables (XLR or TRS) to connect them to your interface or mixer
- Two stands, or isolation pads if they're sitting on a desk
- Somewhere sensible and stable to place them, roughly at ear height
Setting Up Your KRK Monitors: Step by Step
- Choose your spot. Pick a position where both monitors can sit symmetrically, an equal distance from each side wall, ideally away from room corners.
- Set them at ear height. The point between the woofer and tweeter should sit roughly level with your ears when you're seated at your usual listening position.
- Form a triangle. Position yourself so you, and both monitors, form a rough equilateral triangle — this is the standard nearfield listening setup.
- Angle the tweeters towards you. Toe them in slightly so each tweeter points roughly at your ears rather than straight ahead.
- Connect with balanced cables. Run XLR or TRS cables from your interface or mixer to each monitor's input.
- Power up and set a moderate volume. Start quiet, play something you know well, and bring the level up gradually rather than starting loud.
A Gentle Word on DSP and Voicing Modes
If your model has selectable voicing modes or DSP settings, don't feel you need to understand every option immediately. Start with the most neutral or "flat" setting available, listen for a while, and only adjust once something specific feels off — too boomy, too thin, too harsh. Small, deliberate changes teach you far more than trying every setting at once.
Common Early Wobbles (and Why They're Normal)
| What You Might Notice | Likely Cause | Gentle Fix |
|---|---|---|
| Bass sounds boomy or uneven | Monitors too close to a wall or corner | Pull them out slightly, or use DSP room correction if available |
| Stereo image feels lopsided | Monitors not equally spaced from side walls | Measure and adjust so both sides match |
| Sound feels dull through the desk | Monitors resting directly on a resonant surface | Add isolation pads or proper stands |
You Don't Need to Get It Perfect on Day One
Good monitoring is something you grow into. Spend time listening to music you know well through your new KRK monitors before trusting your own mixes on them — your ears need time to learn how these particular speakers translate. That patience pays off far more than any single setting change.
Avoiding the Mistakes Almost Everyone Makes
Once you're settled in, it's worth reading through the pitfalls that catch out most newcomers — our guide to common KRK mistakes covers them kindly and clearly.
Where to Go From Here
When you're ready for the fuller picture — how the different KRK ranges compare and what the technical terms actually mean — our complete guide to KRK is a warm next step, and our buyer's guide is there whenever you're ready to add to your setup.
The Bottom Line
Setting up KRK monitors properly comes down to a handful of gentle steps: symmetrical placement, ear-height positioning, a proper triangle, and a bit of patience while your ears adjust. Get those right, and you'll be hearing your music far more honestly than you were before.






Comments