


Beats Studio 3 article
Beats Studio 3 for Beginners: A Complete Guide
A friendly, no-jargon start for anyone new to the Beats Studio 3 — pairing, noise cancelling and a few good habits to build from day one.
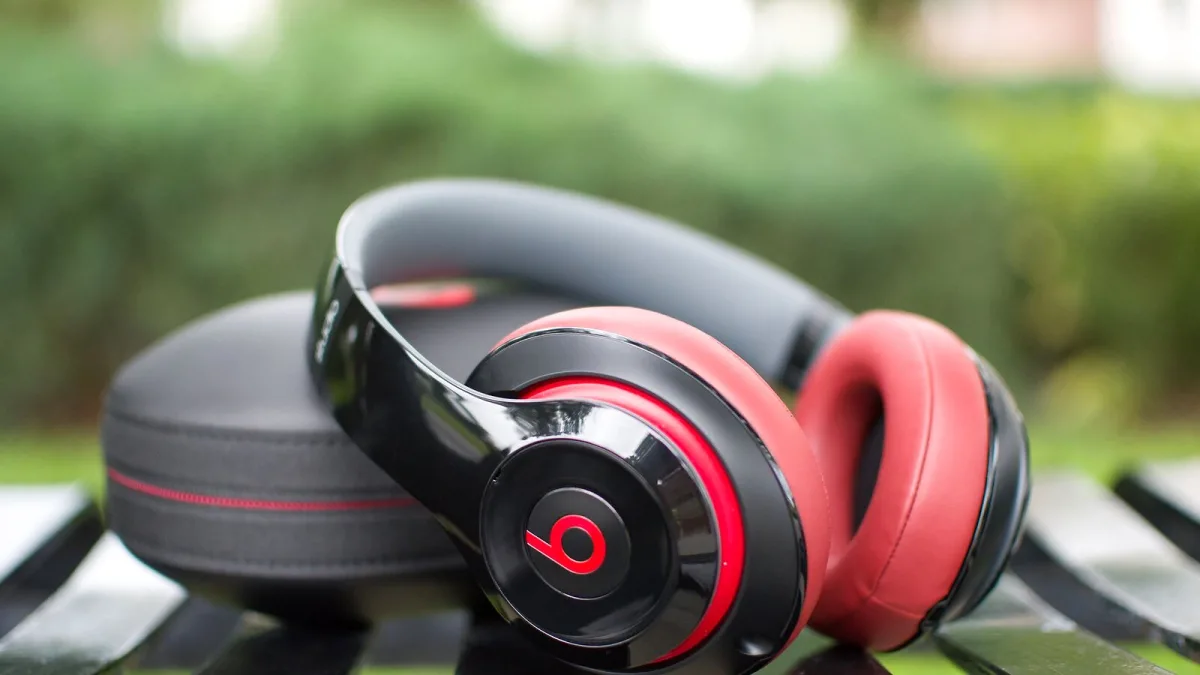
New to a pair of Beats Studio 3? Don't worry, there's nothing complicated here — just a few settings and habits worth knowing so you feel confident with them from day one. Take it slowly, and by the end of this guide you'll know exactly how everything works.
Getting to Know Your Headphones
Before anything else, have a gentle look over the headphones themselves. You'll find padded earcups that fold in for storage, a cushioned headband, and a small set of controls built into one earcup for power, play/pause, skipping tracks, adjusting volume and answering calls. There's also a dedicated button for noise cancelling, which we'll come back to shortly. Everything is designed to be operated by feel, so don't worry about memorising anything right away — it'll become second nature within a day or two.
Pairing With Your Phone for the First Time
This is the bit that trips people up most, and it really shouldn't. The exact steps depend slightly on whether you're using an iPhone or an Android phone, so here's the simple version for each.
On an iPhone or iPad:
- Make sure Bluetooth is switched on in your phone's settings.
- Turn the headphones on and hold them close to your unlocked phone.
- A pairing card should pop up on the screen automatically — tap "Connect".
- That's it. Your headphones are now also linked to your other devices signed into the same Apple account.
On an Android phone:
- Open your phone's Bluetooth settings and switch Bluetooth on.
- Turn the headphones on and put them into pairing mode (holding the power button briefly usually does this).
- Select "Beats Studio 3" from the list of available devices.
- Confirm the connection when prompted, and you're ready to go.
The iPhone route uses Apple's own W1 chip, which is what makes that first step feel almost instant. Android pairing takes a moment longer, but it's every bit as reliable once it's connected.
If Pairing Doesn't Work First Time
Try not to worry if the connection doesn't happen immediately — it's usually one of a small handful of easy fixes:
- Check the headphones aren't already connected to another phone, tablet or laptop nearby. Bluetooth headphones can normally only hold one active connection at a time.
- Switch the headphones off and on again, then repeat the pairing steps from the start.
- On your phone, "forget" the device in Bluetooth settings if it appears but won't connect, then pair again as if for the first time.
- Make sure the headphones have enough charge — a very low battery can occasionally interfere with a clean connection.
Getting a Comfortable Fit
Comfort makes a real difference to how much you enjoy wearing any headphone for long periods, so take a moment to get this right. Slide the headband up or down on each side until the earcups sit centrally over your ears without pressing on the outer edge. The earcups also rotate slightly to sit flush against the side of your head — a small adjustment here can stop a headphone that otherwise feels perfectly fine from becoming uncomfortable after an hour or two.
Understanding Noise Cancelling (Without the Jargon)
The noise cancelling feature is called Pure ANC, short for Pure Adaptive Noise Cancelling. In simple terms, tiny microphones on the headphones listen to the sound around you and quieten it down, adjusting automatically as your surroundings change. It's brilliant on a train, a plane or a busy street. It won't make a room completely silent, and it works better on steady background noise than on sudden sounds like someone talking nearby — that's just how this kind of technology behaves, not a fault with your particular pair.
You don't need to leave it on all the time. If you're somewhere quiet, switching it off will noticeably extend your battery life, which brings us to the next thing worth understanding properly.
Charging Basics
With Pure ANC switched on, you can expect up to 22 hours of listening before you need to charge again. Turn it off, and that stretches to up to 40 hours. One thing that catches new owners out: the charging cable uses an older connector called Micro-USB, not the USB-C connector most modern phones use. It's a smaller, more tapered plug, and it's worth keeping the original cable somewhere you won't lose it, since a like-for-like replacement is easy to find but easy to misplace the search for too.
If you ever run out of charge entirely, there's a wired cable included that plugs straight into your headphones, so you're never completely stuck without sound.
Good Habits to Build Early On
- Fold the headphones and store them in their case when you're not using them, rather than leaving them loose in a bag.
- Get into the habit of turning noise cancelling off when you don't need it, to make the battery last as long as possible.
- Wipe the ear pads occasionally with a soft, slightly damp cloth to keep them comfortable and clean.
- Keep the wired cable somewhere you'll actually remember, just in case.
What to Explore Next
Once you're comfortable with the basics, our features explainer goes deeper into how everything works and who the sound really suits. If you're thinking about buying a second pair, perhaps as a gift, our buyer's guide covers what to check. And if you'd like to sidestep a few avoidable slip-ups other owners have made, take a look at our common mistakes to avoid.
Above all, don't feel you need to master every setting straight away. Most owners find that after a few days of normal use, working with a Beats Studio 3 simply becomes automatic.





Comments