


Rode Nt USB Microphone guide
How to Set Up and Use Rode Nt Usb Microphone
A complete step-by-step setup guide for the Rode NT-USB — from first connection to your first properly positioned and monitored recording.
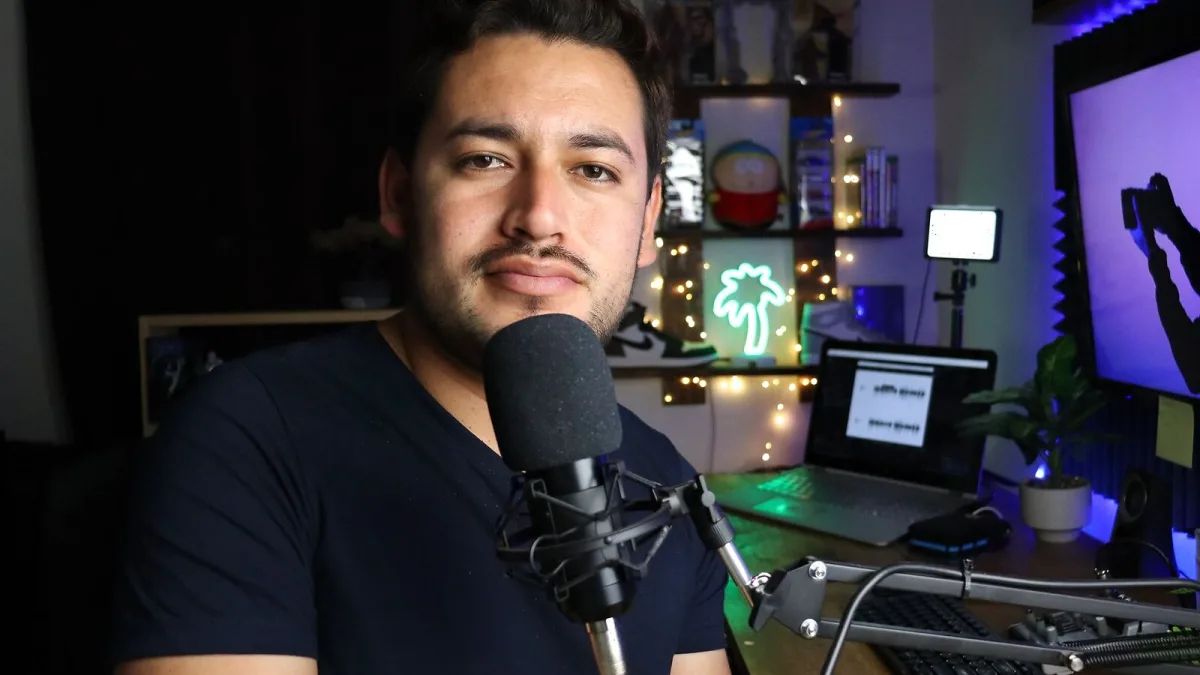
Setting up the Rode NT-USB for the first time is genuinely simple — that is the point of the product. But there are a few things worth knowing before you record your first take, from driver behaviour to monitoring settings. This guide takes you through the full process.
What You Need
- The Rode NT-USB microphone
- USB cable (included)
- A computer (Mac or Windows) or iOS device with appropriate adapter
- Headphones (optional, but useful for zero-latency monitoring)
- Recording software (any DAW, GarageBand, Audacity, or similar)
Step-by-Step Setup
- Unbox and inspect.
Check the contents: the microphone, desk stand, pop shield, ring mount and USB cable. Attach the pop shield to the desk stand if you plan to use it in that configuration — the filter attaches to a gooseneck that clips to the stand body.
- Connect to your computer.
Plug the USB cable into the Rode NT-USB and into a USB port on your computer. No driver installation is required on Mac or recent Windows systems — the microphone is USB class-compliant and appears as an audio device automatically. Allow a few seconds for the operating system to recognise it.
- Set the microphone as your input device.
On Mac: open System Settings (or System Preferences on older macOS) → Sound → Input, and select the the microphone. On Windows: right-click the speaker icon in the taskbar → Sound Settings → Input, and select the microphone. In a DAW, go to the audio device settings and select the NT-USB as the input source.
- Set the gain level.
Most gain adjustment for the it is done in software — either your operating system's input level or your DAW's input gain. Start with around 70% input level and adjust based on the recording level you see on the meter. Aim for peaks around -12 to -6 dBFS on loud passages.
- Set up headphone monitoring.
Plug headphones into the 3.5 mm jack on the base of the microphone. Use the mix knob on the front panel to blend between direct microphone sound (fully left) and computer playback (fully right). Most recording situations work well with the mix centred or slightly toward the direct side, which gives you a sense of your own voice without drowning out the backing track.
- Position the microphone correctly.
The this USB condenser is a side-address microphone — the sound enters from the side of the body, not the top. Position it so the logo (on the flat face) is pointing toward your mouth, typically 15-25 cm away. The pop shield should sit between the microphone and your mouth. Angle the microphone slightly downward from above mouth level to further reduce plosive breath noise.
- Record a test take and check the levels.
Speak or sing at your typical recording volume and observe the meters. Adjust input gain if the signal is clipping (going into the red) or too quiet. Check the headphone mix and adjust for comfortable monitoring. Do a short test recording and play it back to confirm the signal is clean and free of background noise.
The High-Pass Filter and Pad
The high-pass filter switch (marked with a curve symbol) rolls off low-frequency content below approximately 80 Hz. Use it for close-up voice recording to reduce the proximity-effect bass boost, or to cut rumble and room noise. The -20 dB pad switch reduces the sensitivity of the capsule — useful if recording a louder source like an acoustic guitar close-mic'd, where the signal might otherwise clip.
iOS Setup
The the mic is compatible with iOS. Connect using a Lightning-to-USB Camera Adapter (for older iPhones and iPads) or a USB-C adapter (for current iPad Pro and Air models). iOS recognises the microphone automatically. Headphone monitoring and monitoring mix functions work the same way as on desktop.
For an overview of what this microphone is and how it compares to alternatives, the complete guide covers the ground. For the buying decision, the buyer's guide has the comparison detail. And for complete newcomers, the beginner's guide explains the fundamentals.
Summary
Plug the this model in. Set it as your input device. Position it correctly — side-address, logo facing toward you, 15-25 cm away. Set gain in software. Use the headphone mix for zero-latency monitoring. Use the filter switch for close voice work. That is the setup done; the rest is finding the right level and position for your specific voice and room.






Comments