


Shure SM7B article
Shure Sm7b for Beginners: A Complete Guide
The Shure SM7B looks intimidating to a first-timer, but it isn't. Here's a calm, step-by-step guide to getting yours set up and sounding right.
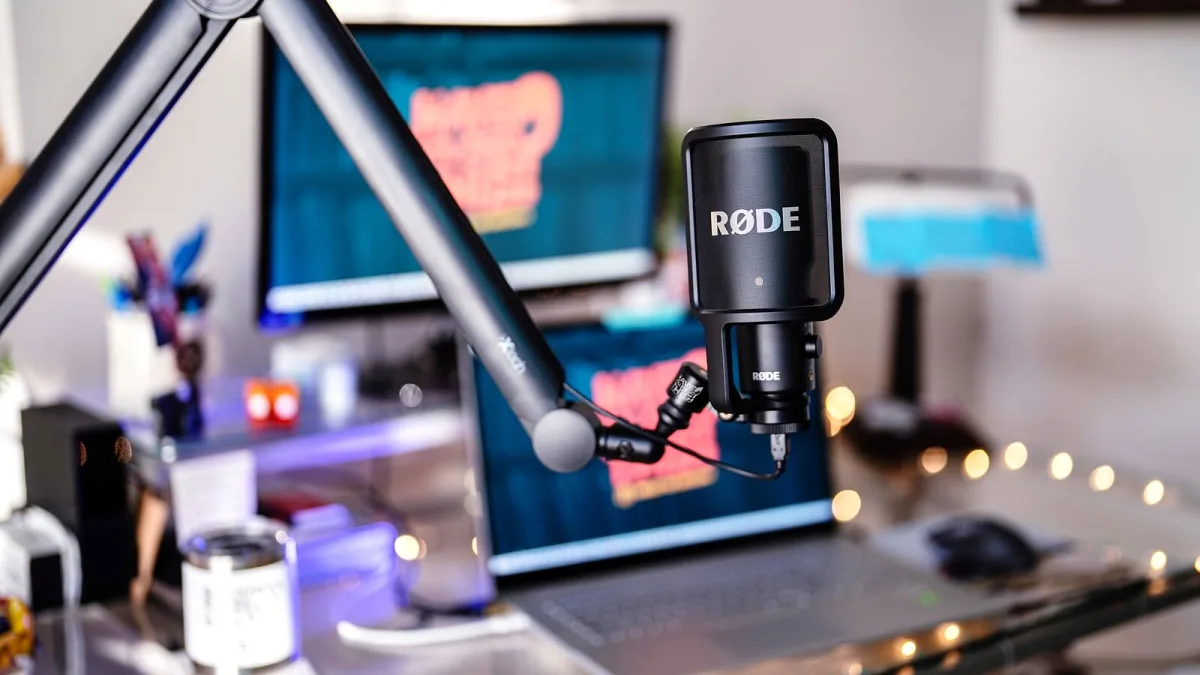
If you’ve just bought, or you’re just thinking about buying, a Shure SM7B, take a breath — it looks more intimidating than it is. Yes, it’s heavier than most microphones you may have used before, and yes, people online love to make a fuss about how much power it supposedly needs. None of that means it’s hard to use. This guide walks through what it is, what you’ll need alongside it, and exactly how to get it set up and sounding right the first time.
Why Beginners Are Drawn to the SM7B
It’s a dynamic microphone, which simply means it uses a moving-coil capsule rather than a powered one. In practice, that makes it forgiving: it’s built to handle loud sources without complaint, and its cardioid pattern — meaning it mostly hears what’s in front of it, not the sides or rear — helps it ignore a messy, untreated room. That’s exactly the situation most beginners record in, which is why so many first home studios end up with one.
What You’ll Need Alongside It
The microphone itself is only part of the setup. Before you press record for the first time, gather the following:
- An audio interface or mixer with a microphone input, connected via a standard three-pin XLR cable (not USB).
- A boom arm or sturdy stand — the SM7B is on the heavier side, so a flimsy desktop stand will tip or sag.
- Plenty of clean gain. This microphone has a naturally quiet output, so Shure’s own guidance suggests it “likes” around 60dB of clean preamp gain. If your interface can’t provide that comfortably, an inline booster (often called a “Cloudlifter”) sits between the mic and the interface and solves the problem — more on that in our SM7B buyer’s guide.
One thing you can cross off the worry list: the SM7B itself doesn’t need phantom power (the +48V some microphones require) to work at all. Phantom power only matters if you’re using a booster, since the booster is what draws that power, not the microphone.
Setting Up Your SM7B, Step by Step
- Mount it securely. Attach the microphone to a boom arm or stand using its built-in yoke, and angle it so the capsule faces where your mouth will be.
- Connect the XLR cable. Run it from the microphone to a mic input on your interface or mixer.
- Fit the larger windscreen (A7WS) if you’re speaking or singing close up. It comes supplied in the box and noticeably reduces plosive “p” and “b” pops.
- Set your gain gradually. Start low, speak or sing at your normal level, and raise the gain until the signal sits at a healthy level without clipping. If you can’t get there cleanly, that’s your cue to add a booster.
- Position yourself close, around a hand’s width from the capsule. This microphone is designed for close-up work, and staying close also helps it reject more of the room.
- Record a short test and listen back. Try the bass roll-off and presence switches on the rear if the tone needs adjusting, then leave them set and get on with recording.
Living With It Day to Day
Once it’s set up, there’s very little ongoing fuss. Keep the cable routed so the boom arm can move without tugging on the XLR connector, try to sit at roughly the same distance each time you record so your levels stay consistent, and leave the tone switches alone once you’ve found settings that suit your voice. There’s no special cleaning or maintenance beyond keeping dust off it and avoiding drops — it’s a solidly built microphone that’s designed to be handled, not just admired.
Common Beginner Mistakes (and How to Avoid Them)
- Sitting too far away. This is a close-miking microphone; back off and the signal gets thin fast.
- Panicking about phantom power. Turning it on won’t harm the SM7B if your cable and interface are properly wired — it simply won’t need it unless you add a booster.
- Turning the gain up too far on a weak interface and living with hiss, rather than adding an inline booster.
- Skipping the test recording and only noticing a problem after a long session.
- Expecting it to fix a noisy room by itself. Its cardioid pattern helps, but it isn’t magic — close miking still does most of the work.
You’ve Got This
The SM7B has a reputation for being fussy, but almost all of that comes down to one thing: gain. Sort that out, mount it securely, sit close, and you have a microphone that will comfortably outlast several “upgrades.” Once you’re comfortable with the basics here, our full SM7B explainer is a good next stop for the finer detail on its features and history.



Comments