


Rode article
Rode for Beginners: A Complete Guide
New microphone sitting on your desk, and no idea where to start? That's completely normal. Let's go through this calmly, one step at a time.
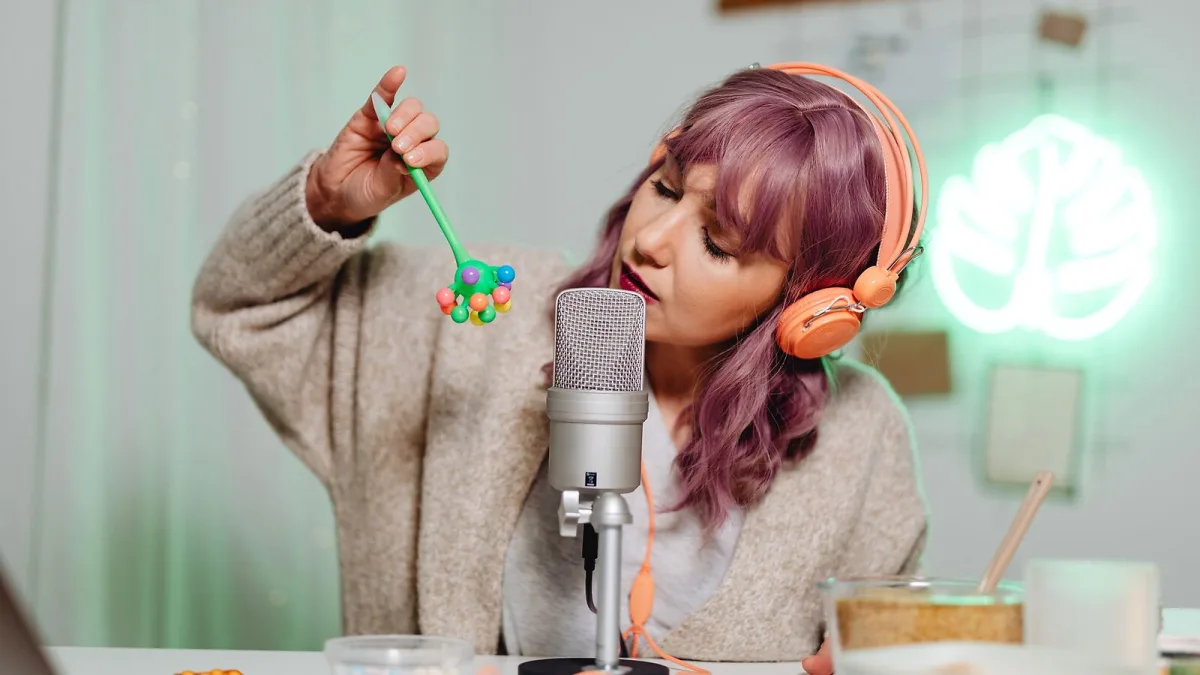
New Rode microphone sitting on your desk, and no idea where to start? That's completely normal, and it doesn't take long to fix. Let's go through this calmly, one step at a time, so your first session actually sounds the way you hoped it would.
Keeping It Simple, Deliberately
Every Rode model, from the cheapest USB option to the more advanced XLR condensers, follows the same basic logic once it's out of the box: get the mounting right, get the gain right, and listen carefully before you trust anything you've recorded. Everything below builds on that simple foundation.
You don't need to understand every specification on your new Rode microphone before you press record. What matters at the start is knowing which broad type you're holding — dynamic or condenser — because that single fact shapes almost everything else about how you'll use it. A dynamic model is forgiving of an untreated room and doesn't mind being spoken or sung into fairly loudly. A condenser is more sensitive, picks up far more detail, and works best in a quiet space.
Setting It Up for the First Time
Work through these steps in order, and don't rush the last one:
- Mount it properly. Attach it to a stand or shock mount rather than resting it on a desk, where it will pick up every bump and vibration.
- Connect it correctly. A USB Rode model plugs straight into your computer. An XLR model needs an audio interface, and if it's a condenser, that interface needs to supply 48-volt phantom power.
- Add a pop filter a few centimetres in front, if you're recording vocals — it stops sudden bursts of air from "popping" on hard consonants.
- Set your gain conservatively. Speak or sing at your actual recording volume and adjust the level until your loudest moments leave some headroom, rather than pushing right up to the top.
- Put on headphones and listen properly before recording anything you care about. Listen for hum, room noise, or anything rattling nearby.
- Record a short test and play it back. This single habit catches more problems than any amount of careful setup beforehand.
Your First Few Recordings
Start with something forgiving. Speaking a few sentences at a natural, conversational volume into your Rode microphone is the easiest first test, because it immediately tells you whether your gain and distance are sensible. Once that sounds clean, try singing or playing an instrument at a similar distance — usually somewhere between fifteen and thirty centimetres away to begin with, adjusted by ear from there. Small movements make a bigger difference than you'd expect, so experiment gently rather than committing to the very first position you try. If your Rode microphone is a dynamic model, you can generally get away with sitting a little closer than you would with a condenser, since it's less prone to picking up unwanted room sound at close range.
Building Confidence Before You Upgrade
It's tempting to blame the Rode microphone itself when an early recording sounds disappointing, but very often the room, the placement or the gain setting is the actual culprit. Give yourself a proper run of practice sessions with the Rode microphone you already own before deciding you need something more expensive. Our guide to common mistakes covers the errors that trip up almost every newcomer, and it's worth reading before you assume the fault lies with your equipment.
Once the basics feel comfortable, you can start thinking properly about which Rode model actually suits you best long-term — our complete buyer's guide and overview of the different types are both there when you're ready for that next step. For now, though, be patient with yourself. Everyone's first few recordings sound a little rough, and that's simply part of learning.



Comments