


Neumann Microphone article
Neumann Microphone for Beginners: A Complete Guide
A Neumann microphone will tell you the truth about your room and signal chain. Here's how to get started, set it up right, and get the most from it.
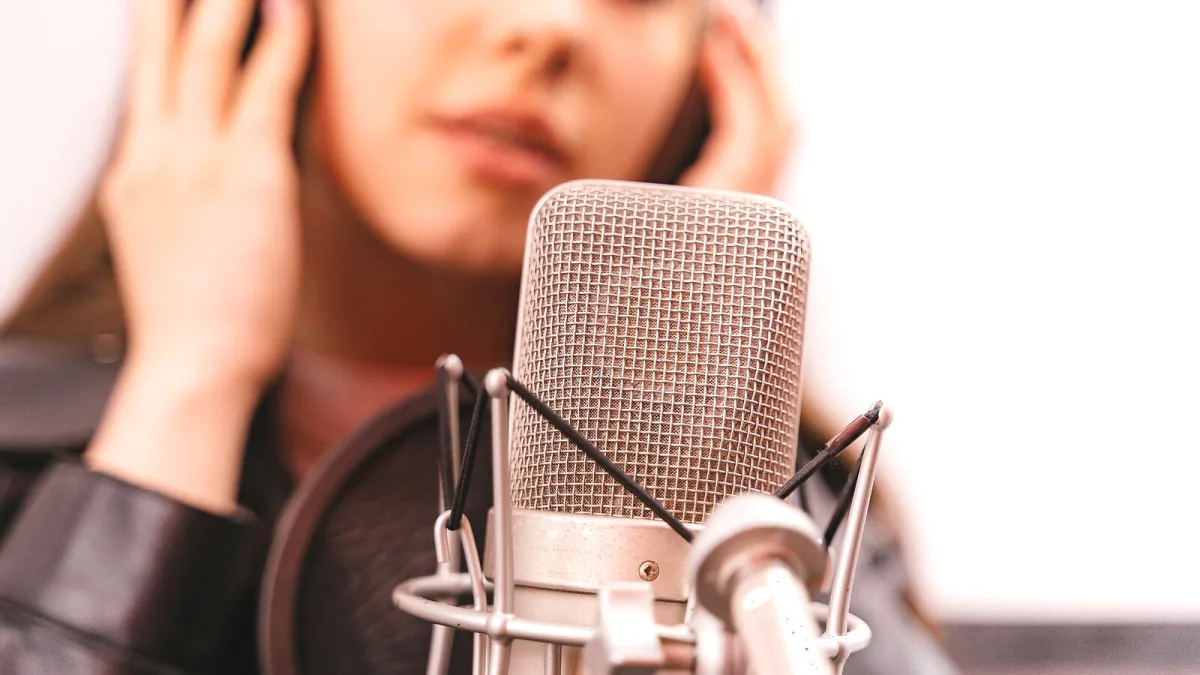
Getting a Neumann microphone for the first time is exciting — and slightly intimidating. These are professional tools, and they will reveal every problem in your signal chain. That's not a reason to wait; it's a reason to understand what you're actually getting, what else you need, and how to set it up so it performs properly from the start.
Which Model to Start With
For most beginners, the TLM 102 is the sensible entry point. It is the most affordable model in the Neumann range, handles loud sources comfortably (144 dB maximum SPL), and has a clean cardioid character that suits vocals, acoustic guitar and general-purpose studio work. It is not as quiet as the TLM 103 — its self-noise is 12 dB-A versus the TLM 103's 7 dB-A — but for most beginner applications, that difference is not audible in context.
If you know you are working primarily with very quiet vocal performances or detailed voice-over work, the TLM 103 is worth the extra cost. Its low self-noise and high sensitivity are most valuable in that context. Just be aware that it will also pick up more room noise and reflections — the quieter the microphone, the more honest it is about what surrounds it.
The U 87 Ai, the TLM 49 and tube models like the U 67 are instruments for experienced engineers and established studios. They require more from the signal chain, the room and the operator. They are worth knowing about, but not the starting point for a beginner with a Neumann microphone.
What Else You Need
A Neumann condenser will not work without the right supporting gear. The essentials:
- An audio interface or preamp with clean 48V phantom power. All TLM-series and modern U-series models require phantom power. A noisy preamp will limit what the microphone can do.
- A balanced XLR cable. Connect the microphone directly to the interface's XLR mic input — not to a line input, instrument input or patchbay.
- A shock mount. A sensitive condenser will pick up vibrations from the stand. A shock mount isolates the microphone from mechanical noise. Use the one matched to your model.
- A pop filter. Place it slightly angled, not parallel to the capsule face, to reduce plosive energy from close-miked vocalists.
- A treated recording space. Room reflections that a cheaper microphone might not fully reveal will be clear on a high-sensitivity condenser. Basic room treatment — absorptive panels on the walls behind and beside the singer, nothing reflective directly behind the microphone — improves results more than any equipment upgrade.
Setting the Gain Correctly
A Neumann condenser has a higher output level than many microphones you may have used before. It needs less preamp gain to reach a usable recording level. Set the gain so the loudest moments of your performance reach approximately -10 to -20 dBFS on your recording meter — not close to zero. Modern 24-bit recording systems do not need to be driven hard. Neumann's own guidance recommends leaving at least 10 dB of headroom above the loudest expected peak.
Importantly: if the performer cannot hear themselves in the headphones, adjust the headphone level or monitor mix — do not raise the preamp gain. This is one of the most common gain-staging mistakes beginners make with a sensitive microphone.
Placement Basics
Start with the capsule approximately 20–25 cm from the vocalist's mouth. The Neumann logo faces the source on TLM-series models — this is the front of the microphone. Angling the microphone slightly — so it points toward the mouth but the singer's plosive breath stream passes below the capsule rather than directly into it — reduces the need for extreme pop-filter settings.
Moving the singer closer increases bass (proximity effect) and intimacy; moving farther away reduces proximity effect and brings in more room character. Neither is inherently better — choose by ear based on what the performance needs.
One Honest Note
A Neumann microphone will not make a bad performance sound good or an untreated room sound neutral. What it will do is capture an excellent performance in a decent room with remarkable clarity and detail. The investment is most valuable when the other parts of the chain support it. For a full breakdown of model choices and when each one makes sense, the buyer's guide covers the range in detail. For the most common setup and technique errors, see the mistakes guide.






Comments