


Dynamic Mics article
Dynamic Mics for Beginners: A Complete Guide
A patient, from-scratch guide to your first dynamic mic: what it does, what else you actually need, and a simple step-by-step to your first good recording.
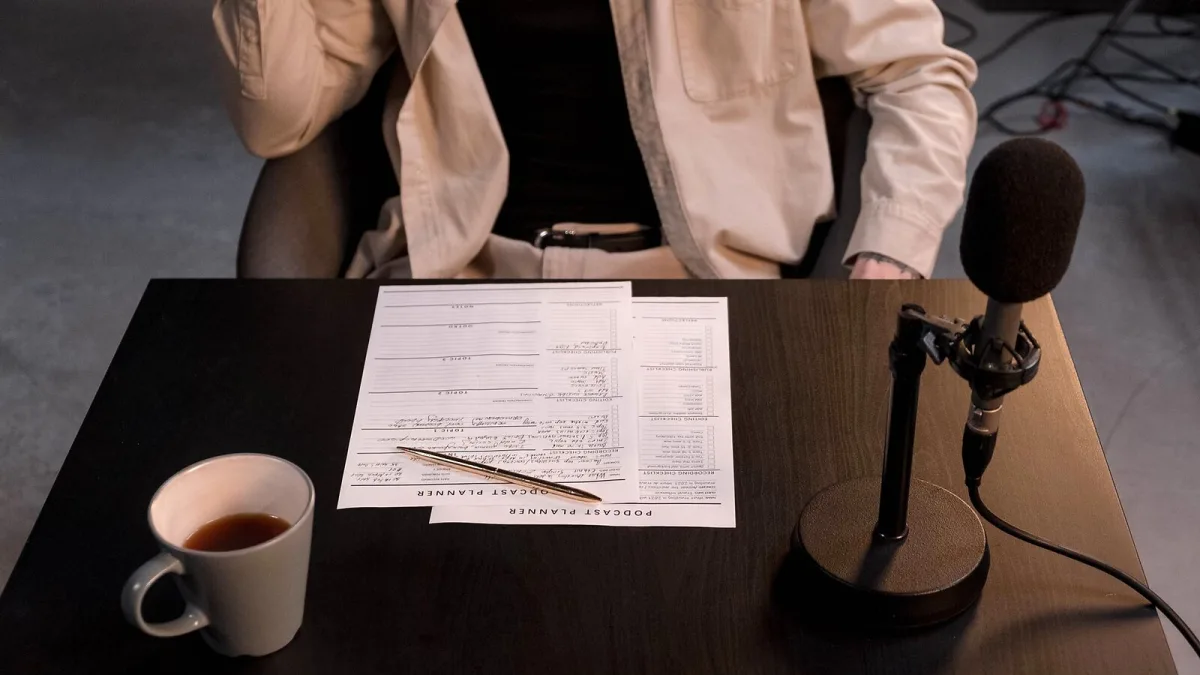
If you're nervous about buying your first microphone, take a breath — a dynamic mic is honestly one of the kindest places to start. It's forgiving of mistakes, hard to damage through normal use, and doesn't ask you to understand phantom power or capacitors before you can make a decent recording. Let's go through exactly what one is, what you'll need alongside it, and how to get a good first result.
What a Dynamic Mic Actually Does
Underneath the grille is a small diaphragm attached to a coil of wire, sitting inside a magnet. When sound waves hit the diaphragm, it moves, the coil moves with it, and that tiny movement creates an electrical signal — the same basic idea as a loudspeaker, just working backwards. You don't need to memorise that to use one well, but it explains why this design doesn't need any external power to work.
Why This Is a Sensible First Microphone
Beginners often assume the "better" microphone is the more expensive, more sensitive one. In practice, a dynamic mic is often the better teacher, for a few reasons:
- It doesn't need phantom power, so there's one less setting to get wrong.
- It rejects background noise from the room, which matters if you're recording somewhere untreated, like a bedroom.
- It's genuinely hard to damage through normal handling, so early mistakes won't cost you a repair bill.
- It's forgiving of being too loud, so you can experiment with gain without much risk.
What You'll Actually Need Alongside It
A microphone on its own doesn't record anything. Here's the full, honest shopping list:
- The mic itself — an XLR cardioid model is the standard, beginner-friendly choice.
- An audio interface or small mixer — this supplies gain and turns the signal into something your computer understands.
- An XLR cable — connects the mic to the interface.
- A mic stand — holding it by hand introduces handling noise into a recording.
- Headphones — so you can hear what's actually being captured, not just what you hear in the room.
That's it. No treated room, no expensive preamp, no accessories beyond the basics above are required to get a genuinely usable first recording.
Your First Good Recording, Step by Step
Here's a sensible order to work through the first time you set everything up:
- Position the mic about a hand's width from your mouth or instrument, angled slightly off-axis rather than pointed straight on.
- Set your gain on the interface while speaking or playing at normal volume, aiming for a healthy signal without the loudest peaks going into the red.
- Put on headphones and listen back while you record a short test, rather than trusting your ears in the room.
- Check for handling noise — if you hear thumps or bumps, make sure the mic is on a stand and the cable isn't dragging against anything.
- Record a full take and listen back critically before deciding you need different gear — most early problems are position and gain, not the mic.
Common Beginner Worries, Answered
A few questions come up again and again from people starting out:
- "My recording sounds quiet even with the gain turned up." This is normal with a dynamic mic — they need more gain than other microphone types. Check your interface can supply enough before assuming something's broken.
- "Do I need a pop filter?" It helps with plosive sounds on "P" and "B", but this type already resists these better than more sensitive designs, so it's a nice-to-have rather than essential on day one.
- "Should I have bought a condenser instead?" Not necessarily — a condenser needs more room treatment to sound its best, which is a bigger obstacle for most beginners than the extra gain this design asks for.
Where to Go Next
Once you're comfortable with the basics above, it's worth reading our dynamic mics buyer's guide before upgrading, since the specs matter more the second time around. If you want specific model suggestions rather than general advice, the best dynamic mics for the money is a good next stop, and our piece on common mistakes is worth a read before you settle into bad habits.
The Bottom Line
You don't need a treated room, an expensive preamp or years of experience to get a usable recording out of your first dynamic mic. Position it sensibly, set your gain by ear and by eye, and listen back before you judge the result. Everything else is refinement you can pick up as you go.





Comments