


Gaming Microphone article
Gaming Microphone for Beginners: A Complete Guide
A gaming microphone is simpler to set up than you might think — and the difference it makes to your stream or gaming chat is immediate. Here's where to start.
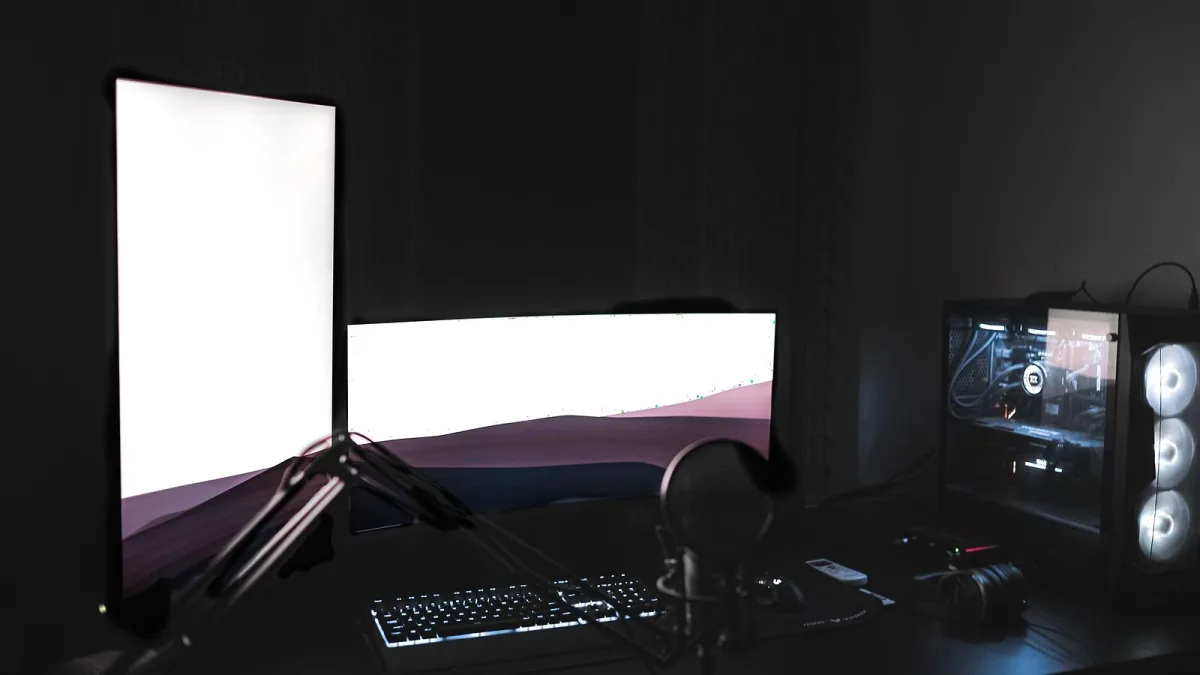
You've decided you want to sound better — whether that's for streaming, gaming chat, or recording a podcast with friends. A dedicated gaming microphone is the right call, and the good news is that getting started is far simpler than it looks. Here's a practical, no-fuss guide to choosing your first microphone and getting it working.
What You Actually Need
For a first gaming microphone, the requirements are straightforward: USB connectivity (no audio interface needed), a cardioid pickup pattern (captures your voice, rejects background noise), and at least a mute button. Beyond those three things, everything else is a bonus.
Don't be dazzled by RGB lighting, multi-pattern switches or companion software suites on your first microphone. These features aren't wrong, but they complicate the setup and often indicate a product designed for marketing appeal rather than audio performance. A plain-looking condenser with good reviews will outperform a flashy one with a mediocre capsule every time.
Choosing Your First Microphone
At the £60–£100 mark you'll find gaming microphones that are significantly better than any headset and genuinely good enough for streaming or content creation. Look for:
- Cardioid pattern only (or with a cardioid mode you can lock to)
- An onboard mute button with an LED indicator
- A headphone output so you can monitor yourself without software-induced latency
- A metal body (plastic housings amplify handling noise)
- USB-C or USB-A connectivity that matches your computer's ports
If your budget stretches to £100–£130, look for a model that includes a shock mount in the box — it's worth having from day one.
Setting Up Your Gaming Microphone: Step by Step
- Unbox and check what's included. Most models come with a desk stand, a USB cable and sometimes a shock mount. Note whether you need a boom arm separately — a clamp-style arm costs around £20–£40 and is strongly recommended.
- Connect to your computer via USB. On Windows and Mac, most USB microphones are class-compliant — they install automatically without any driver. If the manufacturer provides a driver or companion app, install it for the extra control options it gives you.
- Set the microphone as your input device. On Windows: right-click the sound icon → Sound Settings → Input → choose your microphone. On Mac: System Settings → Sound → Input → select the microphone.
- Test the signal. Open your streaming software (OBS, Streamlabs, etc.) or a simple recorder (Windows Voice Recorder, GarageBand) and speak into the microphone. You should see the level meter respond. If nothing happens, check that the mute button isn't engaged.
- Adjust the gain. The gain knob controls how sensitive the microphone is to incoming sound. Turn it up until your normal speaking voice peaks comfortably in the mid-range of the level meter — neither barely registering nor regularly hitting the top. Back it off slightly if your voice is clipping (distorting).
- Position it correctly. This is the step most beginners skip, and it makes the biggest difference. Position it 15–25cm (6–10 inches) from your mouth, slightly to the side rather than directly in front of your lips. Speaking slightly off-axis reduces plosive sounds (the hard "P" and "B" bursts). The microphone should be at or slightly below mouth height, tilted upward toward you.
Reducing Background Noise
A cardioid pattern already does much of the work, but your room matters too. Hard surfaces (bare walls, uncarpeted floors, glass) reflect sound and create a hollow, echoey quality. Soft furnishings — a sofa, curtains, a bookshelf full of books — absorb those reflections. You don't need acoustic treatment panels to start; a corner of a room with a bed or sofa nearby is often enough for streaming purposes.
Your computer fan and mechanical keyboard are the usual culprits for background noise. A boom arm keeps the microphone away from the desk surface (where fan vibration travels through), and a shock mount further isolates the capsule. For keyboard noise, the cardioid pattern helps, but positioning the microphone so its rear faces the keyboard is even better.
Companion Software
Many mics come with software that adds EQ, compression and noise suppression. These tools can help, but start without them. Learn what your voice sounds like through the microphone first. Then apply processing if something genuinely needs fixing — not just because the software is there.
Once you're comfortable with your setup, the full feature and types explainer covers the technical side in depth. If you hit any problems, common mistakes to avoid addresses most of the issues beginners encounter. And if you're still comparing models, the buyer's guide has the spec and budget breakdown.
The Bottom Line
Getting a good sound from a gaming microphone is mostly about placement and gain setting, not about having the most expensive model. Spend a few minutes positioning it correctly, set the gain so your voice is clear and undistorted, and use the mute button whenever you step away. That's genuinely most of what there is to it.





Comments