


Condenser Microphone article
Condenser Microphone for Beginners: A Complete Guide
Recording at home starts with one tool: a quality condenser microphone. This beginner's guide covers phantom power, what gear you actually need, and how to make your first professional-sounding recording without overthinking it.
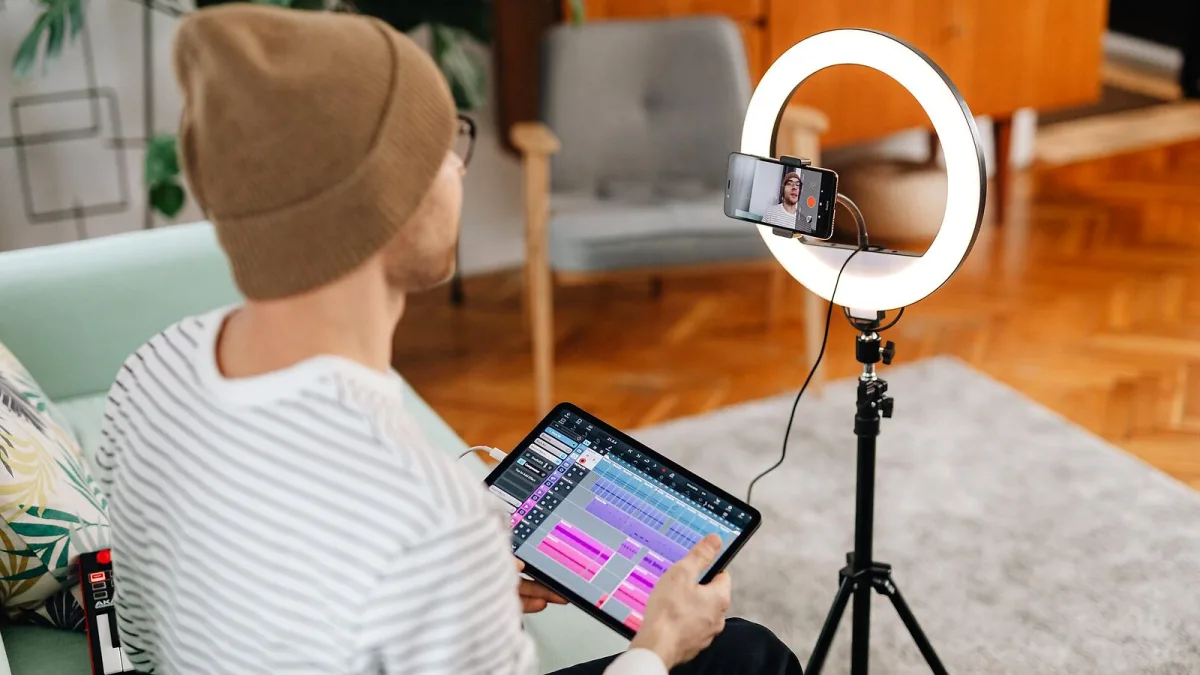
If you're just starting to record at home and you've heard people rave about condenser microphones, welcome. You're standing at the threshold of something genuinely exciting—the moment when your music stops living only in your head and starts becoming real. A condenser microphone is the tool that makes that possible, and this guide is designed to make the leap from curious to confident.
Why Beginners Choose the Condenser Microphone
First, let's answer the obvious question: why does everyone recommend a condenser microphone for home recording? The answer is simple—it sounds good, and it sounds honest. Unlike a dynamic microphone, which colours and compresses sound, a condenser captures what's actually there: the warmth of your voice, the shimmer of your acoustic guitar, the resonance of your piano. For a first-timer, that honesty is a gift because you can hear what you're really playing and singing. You can hear when you're out of tune, when you rush, when you nail it.
A condenser microphone is also forgiving across a wide range of sources. Buy one quality model, and it will serve you well for vocals, acoustic instruments, voiceover, podcasting, even recording your friend's band jam in the corner of your bedroom. That versatility makes it the smartest first purchase.
Phantom Power: What It Is and Why You Need It
This term confuses everyone at first, so let's demystify it. A condenser microphone relies on an electrical charge to work. That charge has to come from somewhere—and that somewhere is phantom power, a 48-volt signal sent down the microphone cable by your audio interface.
Here's what matters: most modern audio interfaces include phantom power. When you open your interface's control software, you'll see a button labelled "48V" or "Phantom Power" next to each input. Turn it on, and your condenser microphone wakes up. Leave it off, and your microphone will be silent. Once you understand that single rule, phantom power stops being mysterious.
One important note: turning phantom power on won't hurt a dynamic microphone, so if you ever record with both types, you don't need to fuss with switches between takes.
Your First Condenser Microphone Setup
You've decided to buy a condenser microphone. What else do you actually need? Not as much as marketing will tell you.
The microphone itself. Budget £300–600 for a quality large-diaphragm condenser. This is the centrepiece. Don't skimp here; a cheap microphone will frustrate you from day one.
An audio interface. This is the box that plugs into your computer and houses your audio inputs and outputs. It provides phantom power, amplifies your microphone signal, and converts analogue sound to digital. Budget £150–400 depending on quality. Focusrite Scarlett and Universal Audio models are industry standards for beginners.
An XLR cable. This thick cable connects your microphone to your interface. Buy a quality one (£15–30). Cheap cables introduce noise and interference.
A microphone stand. A sturdy boom arm or stand keeps your condenser at mouth level and away from vibration. Budget £40–80.
A pop filter. This simple metal mesh screen sits between you and your microphone, preventing plosives (harsh P and B sounds) from overloading the signal. It costs £20–40 and makes an audible difference.
Headphones. You need to hear yourself while recording. Budget quality monitor headphones are essential. Expect to spend £80–150.
Total entry cost for a proper condenser microphone setup: roughly £600–1,200. This is not cheap, but it's a one-time investment that will serve you for years and will never sound worse than the day you bought it.
First Steps: Recording Your First Take
You've unboxed your new condenser microphone and plugged everything in. Here's how to get sound.
- Plug the condenser into the XLR input of your audio interface using the XLR cable.
- Turn on your interface.
- In your interface's control panel, enable phantom power (the 48V switch).
- Open your recording software (Reaper, Logic, Ableton—whatever you use).
- Set the input to the channel where you plugged in the microphone.
- Speak or sing softly into the microphone while watching the input meter. You should see the signal moving.
- Adjust the gain knob on your interface until the signal peaks around −6 to −12 dB (not clipping at zero).
- Hit record.
That's it. You've just recorded with a condenser microphone.
The Sound You're After
Your first recording probably won't sound like the records you love. That's not because of your condenser microphone—it's because you're recording dry (no effects, no reverb). Professionals always record clean and dry, then add ambience in mixing.
What you should hear is clarity. Your voice should sound recognisably like your voice. Your guitar should have shimmer and sustain. If your recording sounds dull or muffled, check: Is your microphone positioned correctly (about 6 to 12 inches from your mouth, slightly off-axis)? Is the gain set right (loud enough to see, not clipping)? Is the room quiet?
If everything is set up right and you still hear your room's ambient noise, don't panic. That's a room problem, not a microphone problem. A condenser microphone does its job by picking up everything—which means you're hearing where you need to improve your recording space.
Building Confidence from Here
You've made your first recording with a condenser microphone and lived to tell the tale. From here, the path is simple: keep recording. Try different distances and angles. Record in different rooms. Trust what you're hearing. A quality condenser microphone rewards experimentation because it's honest—what you get is what you put in.
Join forums, listen to other people's recordings, and compare your work to artists you admire. You'll grow faster than you expect. And one day soon, you'll stop thinking about the gear and start thinking only about the music. That's when you'll know you've made it.






Comments