


Audio Technica Microphone article
Common Audio Technica Microphone Mistakes to Avoid
From recording in untreated rooms to mishandling gain staging: the most common mistakes made with condenser microphones and how to correct each one.
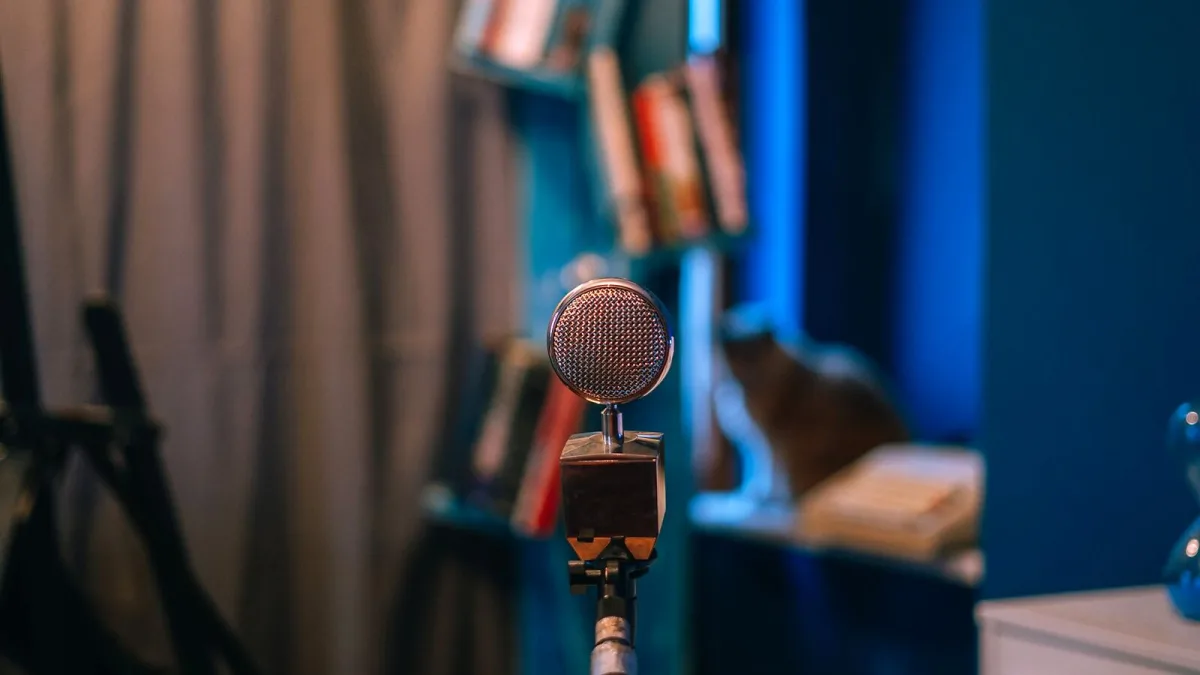
An Audio-Technica microphone will only perform as well as the environment and technique that surround it. Many common problems with condenser microphone recordings trace back to a handful of repeatable errors: room acoustics, gain staging, microphone placement and equipment mismatches. Understanding these mistakes in advance will save considerable time in post-production.
Recording in an Acoustically Untreated Room
The most common problem with home condenser recordings is room reflections. A cardioid condenser microphone is highly sensitive and will accurately capture everything in the room — including flutter echoes, low-frequency room modes and any parallel reflective surfaces nearby. Recording in a room with no acoustic treatment results in a sound that cannot be fixed cleanly in mixing. The solution is to work in a treated space, use a reflection filter behind the microphone or record in a room with absorptive surfaces (bookshelves, heavy curtains, a well-stuffed sofa). The AT2020 does not compensate for a bad room; it accurately represents one.
Setting the Gain Too High
The AT2020 has a sensitivity of –37 dB, which is relatively high compared with dynamic microphones. This means it requires significantly less gain from the audio interface preamp. A common mistake is setting the interface gain as high as one would for a dynamic microphone, resulting in a clipped or saturated signal before any level adjustment happens in the recording software. Set the gain so that peaks reach between –18 and –12 dB on the DAW meter; you have more headroom than you think.
Not Verifying Phantom Power
If the AT2020 produces no signal, the almost universal cause is that 48-volt phantom power has not been engaged on the audio interface. Some interfaces enable phantom power globally across all inputs; others have per-channel switches. It is worth checking the interface's physical controls and its companion software application, as the two can sometimes be out of sync. A condenser microphone with no phantom power will produce either complete silence or a very faint, distorted signal.
Positioning Too Close With No Pop Filter
At very close range — under 10 cm — cardioid condensers exhibit pronounced proximity effect: a bass boost that becomes more severe as the source approaches the capsule. Combined with plosive sounds (p, b, t) that drive strong low-frequency transients into the capsule, close-proximity recording without a pop filter typically produces unusable vocal tracks. Use a pop filter at around 5 to 10 cm from the capsule and position the sound source 15 to 20 cm beyond that. For instruments rather than voice, close miking without a pop filter is usually fine.
Using a Condenser Microphone in a Loud Live Environment
Condenser microphones like the AT2020 are designed for controlled studio and recording environments. Using one on a live stage near loud monitors or with minimal acoustic separation invites feedback and capsule stress. For live performance applications, dynamic microphones from the ATM Artist Series — or the ATM650 in particular — are more appropriate. They handle high SPL without issue, require no phantom power and are significantly less prone to feedback in live settings.
Ignoring the Microphone's Polar Pattern
The AT2020 is a cardioid microphone. Cardioid means it captures sound primarily from the front and increasingly rejects sound from behind. If your recording source is placed at an angle to the capsule, or if you are facing the side of the microphone rather than the top, you will get significant off-axis colouration — a muffled, hollow sound that is not an equipment fault. The capsule should face the source directly, with the side-address housing angled away. Check the microphone's polar diagram if you are unsure of the pickup pattern's shape.
The Bottom Line
Most problems with condenser microphone recordings can be traced to environment, gain staging or placement rather than the microphone itself. For a full guide to getting set up correctly from the start, see our Audio-Technica microphone beginner's guide.





Comments