


Guitar Audio Interface article
Guitar Audio Interface for Beginners: A Complete Guide
Setting up a guitar audio interface takes about ten minutes once you know the steps. This guide covers physical connection, DAW configuration and getting the gain level right.
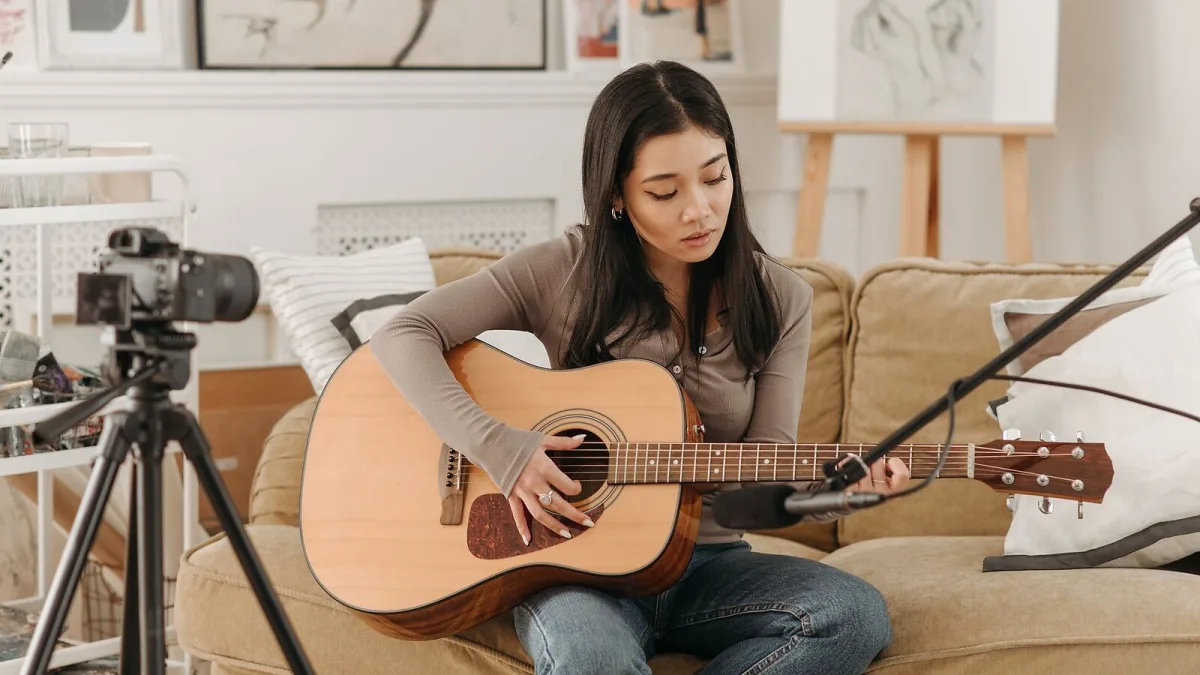
If you have just bought a guitar audio interface for the first time, the setup is straightforward but there are a few things to understand before you start recording. This guide covers physical setup, driver installation, DAW configuration and the first test recording.
Physical Setup
Connect the interface to your computer with the supplied USB or USB-C cable. Plug your guitar into the Hi-Z input — this is usually the front-panel jack socket labelled with a guitar or instrument symbol, not an XLR microphone input. Turn the gain knob to approximately the 12 o'clock position as a starting point. Connect headphones to the headphone output on the interface, not to the computer's audio jack.
Driver Installation
Most modern interfaces are class-compliant and operate without drivers — plug in the USB cable and the computer recognises the device. Some professional-tier interfaces require driver installation for lowest-latency operation. If you are using a Focusrite Scarlett, Audient or Behringer interface, class-compliant operation is standard. Install the manufacturer's companion software (Focusrite Control, Audient Console) if provided — these give access to routing, direct monitoring settings and gain control that go beyond the hardware knobs.
Configuring Your DAW
Open your recording software and navigate to audio settings or preferences. Set the audio input and output device to your interface. Set the buffer size to 128 or 256 samples as a starting point — lower values reduce latency but increase CPU load. On Windows, use the ASIO driver option if your interface provides one; on macOS, Core Audio handles the interface automatically without additional configuration.
Setting Gain Correctly
Play the loudest passage you expect to record, then adjust the input gain knob until the level indicator on the interface (usually an LED ring around the knob) shows a consistent green signal with only occasional amber peaks. Avoid red — clipping in the preamp stage produces distortion that cannot be removed after recording. The ideal recording level peaks between -18 dBFS and -10 dBFS in your DAW, which leaves headroom for mixing.
Direct Monitoring and Headphone Mix
Enable direct monitoring to hear yourself in real time without delay. Most interfaces have a dedicated direct monitor button or a mix knob that blends the direct input signal with playback from the computer. Start with the mix knob at the centre for a balanced blend of your guitar and any backing tracks. Adjust headphone volume using the dedicated headphone output knob on the interface rather than software volume controls. See the mistakes guide for common first-time errors to avoid.






Comments