
DAW Controller article
Daw Controller for Beginners: A Complete Guide
A DAW controller gives physical faders and transport controls for music production software. For a beginner, here is exactly what to expect, what to learn first, and how to get up to speed quickly.
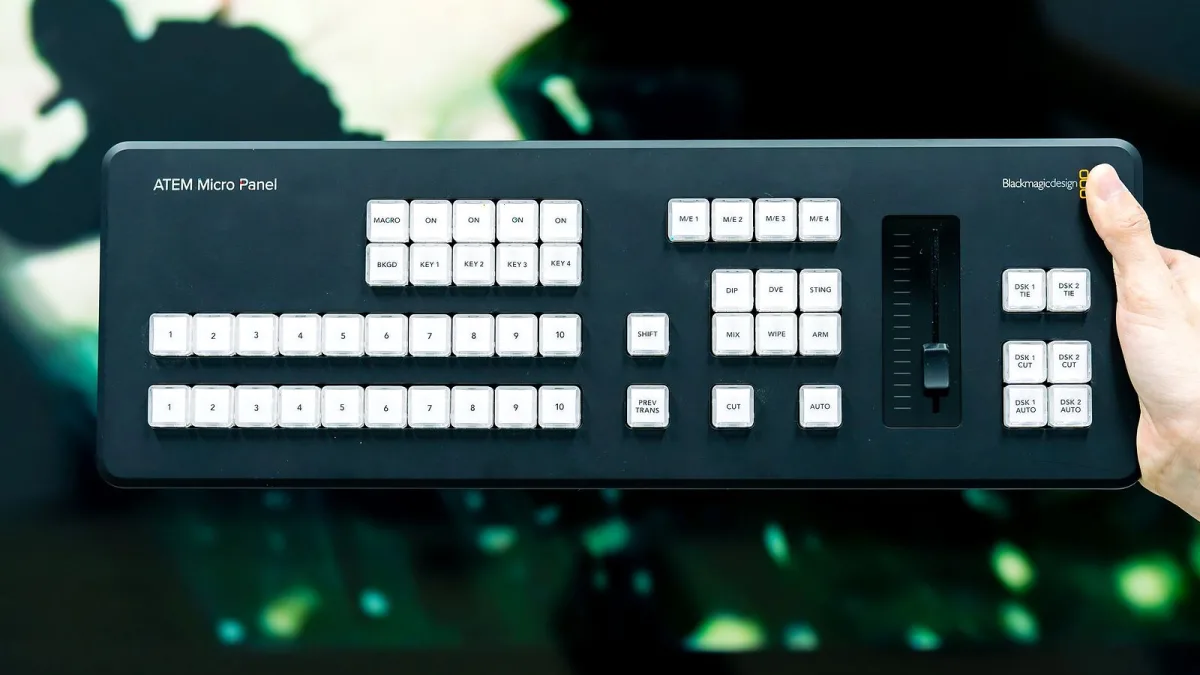
If you are new to music production and have been working with a mouse and keyboard in your DAW, a DAW controller can transform how a session feels — but only if you understand what it does and what it does not do. A controller does not make music for you, and it does not fix problems with the sound you are making. What it does is give you physical control over the software, which makes some operations faster and more intuitive, and reduces fatigue during longer sessions.
What You Are Actually Getting
A DAW controller sends MIDI messages to your DAW software when you touch a fader, turn a knob, or press a button. The DAW interprets these messages and performs the corresponding action — raising a volume level, engaging a bypass, moving the playhead. The controller is an input device, like a mouse or keyboard, but designed specifically for the controls audio software uses most. When you move a physical fader, something in the DAW responds. When automation plays back, a motorised fader on the controller moves to show you what is happening.
Start With Your DAW
The first question is whether your DAW fully supports the type of controller you are considering. Logic Pro, Cubase, Studio One, Ableton Live, and Reaper all have solid MCU support — the protocol most controllers use. If you use one of these, nearly any standard MCU controller will work immediately. If you use FL Studio or a less common DAW, research compatibility before buying, as support varies. Some controllers are built specifically for one DAW — Ableton Push for Ableton Live, NI Maschine for Native Instruments' software — and work best in that environment.
What to Expect in Your First Sessions
The first few sessions with a new DAW controller take adjustment. You will need to configure the controller in your DAW settings, assign the correct MIDI input, and possibly set the control mode. Most modern controllers have clear setup documentation. After that, expect a learning curve: physical controls do not always map exactly where you expect them to, and bank switching — moving the controller's view from one set of channels to another — takes practice. Within a few sessions, the muscle memory builds and the workflow becomes significantly faster than mouse operation for mixing tasks.
Key Controls to Understand
The transport controls are usually the first thing a beginner masters: play, stop, record, loop, and fast-forward or rewind. These are universal and work the same way across most DAW controller setups. Faders for volume come next. Pan controls and send levels follow. The EQ and effects knobs are the most variable between controllers and between DAWs — some offer deep integration with plug-in parameters, others are more limited. Do not try to understand everything at once; work through the transport and faders first.
Motorised Faders: Are They Necessary for Beginners?
No — but they are noticeably better. Non-motorised faders work perfectly for basic production and mixing, and many beginners produce excellent work without them. The limitation shows up when switching banks (moving between different sets of channels) or when automation playback makes the fader position in the DAW different from the physical position on the controller. As your sessions grow in complexity, this becomes more disruptive. If the budget allows, motorised faders are worth the extra cost even for beginners.
Getting the Most Out of It
Use the controller consistently from your first session rather than reverting to the mouse when things get confusing. The muscle memory only builds through repetition. Start with the controls you use most — transport and volume faders — and add others gradually. Many producers find that after a month of regular use, reaching for the mouse during a mix session feels counterproductive. The physical workflow becomes the natural one.
Further Reading
For a technical overview of how controllers work and what the different types offer, see the complete guide to DAW controllers. When you are ready to compare specific models and budgets, the buyer's guide covers the key decisions.





Comments