


Arturia Minilab 3 article
Common Arturia Minilab 3 Mistakes to Avoid
The Arturia MiniLab 3 is capable and well-designed, but a few easily avoidable mistakes prevent most users from getting the best from it. Here is what to watch out for.
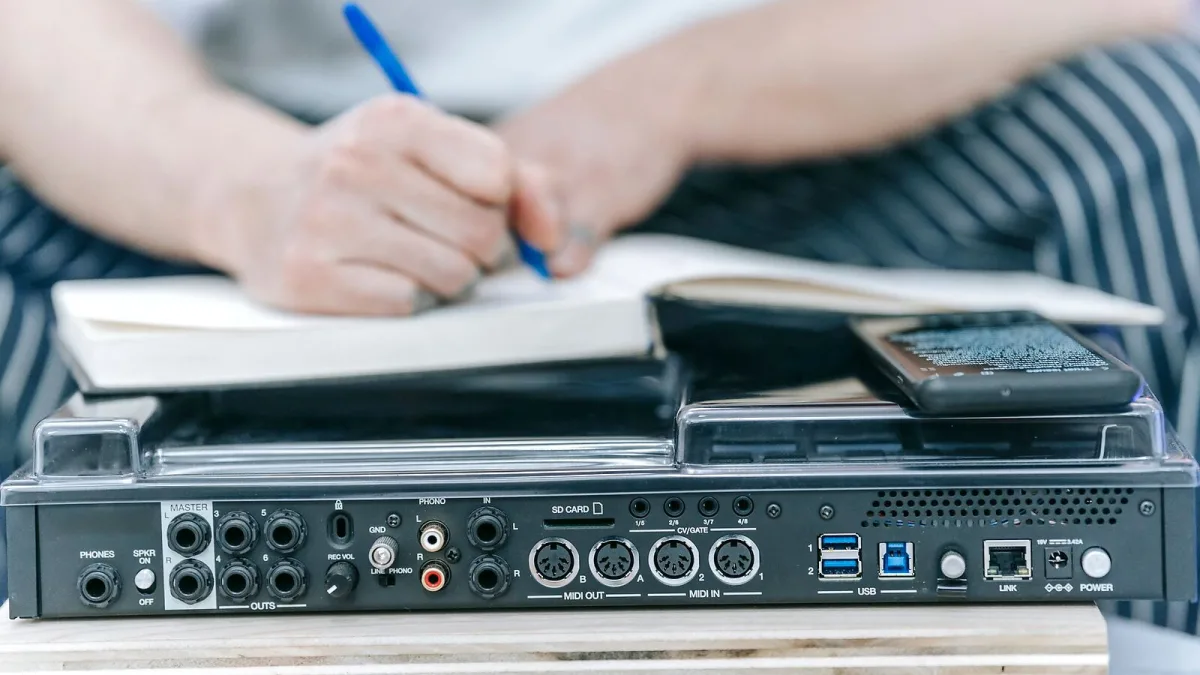
The Arturia MiniLab 3 is well-designed and genuinely capable, but like any piece of studio equipment, it has a handful of traps that catch people out early on. Some of these lead to frustration, some to poor-quality recordings, and a couple to workflows that limit what the controller can actually do. Here are the most common ones — and how to sidestep each of them.
Mistake 1: Skipping the Firmware and Driver Setup
Many people plug in the Arturia MiniLab 3, hear it recognised by their computer, and assume everything is ready. In practice, its full feature set — in particular its encoder configuration options, DAW-specific scripts and advanced MIDI routing — requires Arturia Software Center and the current firmware to be installed. Without them, you are working with a more limited version of the controller than you paid for.
Firmware version 1.2.0 (released December 2024) added absolute and relative encoder modes, pad locking for transport control, improved Cubase support and better clock handling. Take fifteen minutes to set it up properly at the start, and you will not have to troubleshoot missing functionality later.
Mistake 2: Ignoring the Relative Encoder Setting
By default, the rotary encoders on the Arturia MiniLab 3 may operate in absolute mode — meaning the controller sends a fixed value based on the physical position of the knob. When the physical knob position does not match the parameter value in your software, turning the encoder can cause a sudden jump in the software parameter. This is jarring, particularly in live performance or when switching between presets.
The fix: switch the encoders to a relative mode using the MIDI Control Center configuration software. In relative mode, the encoder sends incremental changes rather than absolute values, so the physical position does not need to match the software value. This is the single most practical configuration adjustment for daily use.
Mistake 3: Leaving the Four Sliders Unmapped
The four sliders on the Arturia MiniLab 3 are among the most practical controls on the panel, yet they are frequently left at default settings or ignored entirely. Sliders are ideal for parameters that benefit from a fader-style control: mixer channel levels, organ drawbars, filter cutoffs, envelope attack and release, or macro knobs. Leaving them unmapped is wasting genuine tactile control.
The MiniLab 3 stores up to five user presets, so it is worth spending an hour mapping the sliders (and encoders) to your most-used parameters in each context — one preset for your DAW mixer, one for your main synthesiser, one for live performance — and saving each as a separate preset. Switching context then becomes a one-button operation.
Mistake 4: Not Using the Five-Pin MIDI Output
One of the most useful differentiators of the Arturia MiniLab 3 is its five-pin DIN MIDI output, which allows it to drive external hardware synthesisers and drum machines without a computer in the signal chain. Many users overlook this entirely because they are focused on software production. If you own any MIDI-equipped hardware — a synthesiser, a drum machine, even a digital piano with MIDI input — the MiniLab 3 can control it directly. This is worth exploring even if hardware is not your primary workflow.
Mistake 5: Using Only the First Pad Bank
The 16 RGB pads operate across two banks of eight. A common pattern is to work exclusively in the first bank and never switch, effectively halving the available pad assignments. The second bank doubles your access to drum sounds, sample triggers, DAW clip slots or MIDI notes — all without needing to reconfigure anything.
In Ableton Live, for instance, the second pad bank can map to a different row of the session view. In a drum arrangement, it can cover the full range of a standard kit. It takes a moment to set up but is immediately worth the effort.
Mistake 6: Relying on “Works with Any DAW” Without Checking Integration Depth
Arturia’s marketing accurately states that the controller is compatible with major DAWs, but compatibility varies considerably in depth. Dedicated scripts are available for Ableton Live, FL Studio, Logic Pro, Bitwig Studio, Reason and Cubase — these provide transport control, track navigation, automatic parameter mapping and other functions out of the box. For other software, you are using MCU or HUI protocols, which are more generic and may require manual assignment of controls.
Before assuming everything will “just work”, check whether your specific DAW has a dedicated MiniLab 3 or Arturia script available, and install it. The difference between generic MIDI and a dedicated script is often the difference between a partially functional controller and a genuinely integrated one.
Mistake 7: Not Setting Up the Pedal Input
The ¼-inch control input is frequently missed altogether. It accepts a standard sustain pedal, an expression pedal or a footswitch — all of which can add expressive capability, particularly for piano, organ and synth playing. Many compact controllers in this price range omit this input entirely, which is exactly why it is worth taking advantage of it.
For piano-style playing in Analog Lab or a virtual instrument, a basic sustain pedal costs very little and transforms the experience. It is one of the most cost-effective additions you can make to a setup built around this controller.
Mistake 8: Confusing the Controller with a Sound Module
This one catches genuine beginners. The Arturia MiniLab 3 is a MIDI controller, not a synthesiser with a built-in sound engine. It makes no sound independently. When people press keys and hear nothing, or when they try to use it without software running, the usual cause is this misunderstanding. The controller requires a sound source — Analog Lab, a DAW with loaded instruments, or an external synthesiser connected via MIDI.
Understanding this from the outset avoids a lot of early frustration. Once you have the right mental model, the controller’s role in your setup becomes immediately clearer.
Mistake 9: Not Verifying the Current Software Bundle
Included software licences and bundle contents can change over time. Third-party listings have mentioned Ableton Live Lite, UVI Model D and other items as part of various bundles, but the precise contents depend on when and where you purchased, and what promotions were active at the time. Before registering or activating, check your purchase documentation and the current Arturia product page. Do not assume a licence is included without confirming it — and do not assume it is absent without checking either.
The Bottom Line
Most of these mistakes share a common thread: they come from not taking the time to configure the controller properly at the start. The Arturia MiniLab 3 is more capable than it first appears, but those capabilities require a small investment of setup time to unlock. Get the firmware updated, set your encoders to relative mode, map your sliders, and configure the right DAW script — and you will find the controller significantly more satisfying to work with.
For a full picture of everything the controller can do, start with the MiniLab 3 feature overview. If you are still in the decision-making stage, the buyer’s guide covers what to look for before you commit. And if you are just starting out, our beginner’s guide will get you making music quickly.






Comments