


Acoustic Piano article
Acoustic Piano for Beginners: A Complete Guide
Starting the piano rewards steady effort more than talent. Here's a clear step-by-step path through the first weeks — from posture to practice habits.
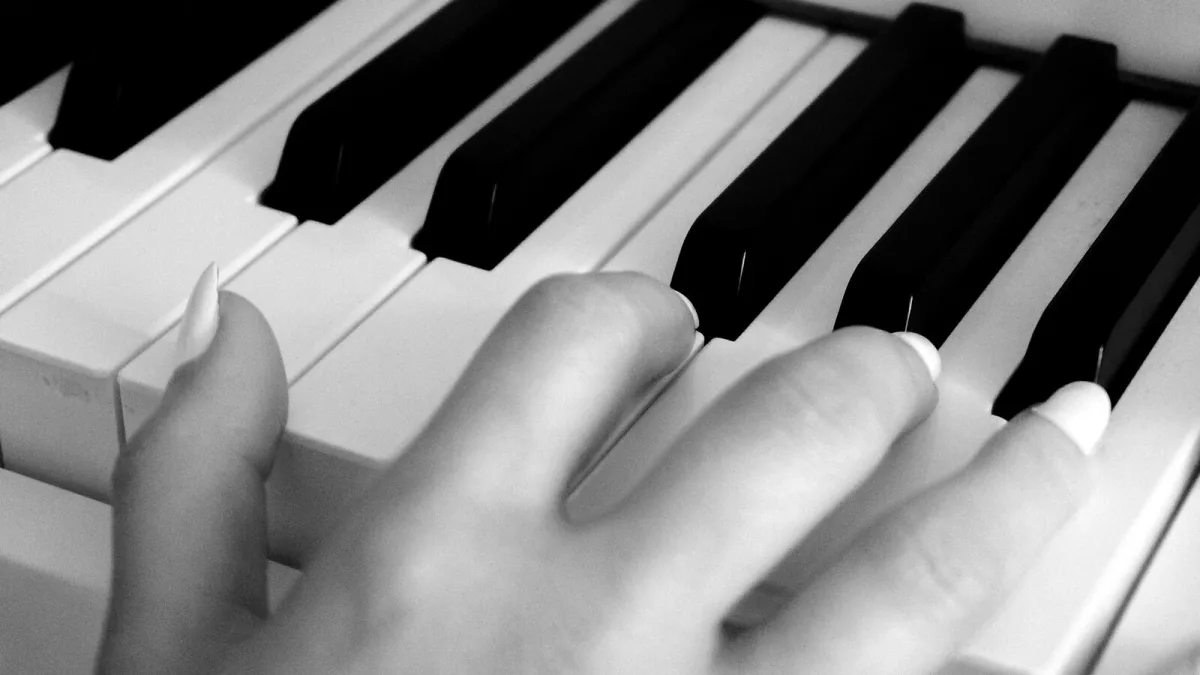
Starting the acoustic piano is one of the most rewarding things you can do. It is also one of the most achievable: most adults who make steady, consistent effort at the instrument get further than they expect. This guide takes you through the first steps — finding your footing before your first lesson, understanding what to practise, and how to build habits that last.
Before Your First Lesson
You do not need to know anything before you begin — that is what lessons are for. But a few things are worth having in place. First, find a teacher before you buy an instrument if you can; a good piano teacher can advise on what instrument suits your space and budget, and will often know local dealers or second-hand instruments worth considering. Second, look into access: can you practise on something — a friend's piano, a community hall, a school instrument — while you decide on your own? And third, be realistic about the time you can commit. Thirty minutes of focused practice four or five times a week will serve you far better than occasional long sessions.
How to Get Started: A Step-by-Step Path
- Set up your seat and posture correctly. Sit at the centre of the keyboard, at a height where your forearms are roughly level and your wrists are relaxed. Your feet should rest flat on the floor — or on a footstool if you are not tall enough to reach comfortably. Sit close enough to the keys that your elbows are slightly in front of your body, not locked back at your sides.
- Learn the layout of the keys first. The acoustic piano keyboard uses a repeating pattern of black keys in groups of two and three. Middle C is the white key immediately to the left of the group of two black keys nearest the centre of the keyboard. Spend your first session simply finding the same note name in different octaves across the keyboard — no music reading needed.
- Begin with five-finger exercises in one hand. Place the thumb of your right hand on Middle C and let each finger sit naturally on the next white key — D, E, F, G. Play each note in sequence, slowly, listening for a clear, even sound. Then reverse. Do the same with the left hand starting with the fifth finger on C an octave below. Evenness and tone quality matter far more than speed at this stage.
- Introduce basic music reading gradually. The treble clef (right hand, generally) uses the lines and spaces of the staff to represent pitches. Start with notes you already know from your five-finger exercises — C, D, E, F, G on the treble staff. Many good beginner books introduce reading incrementally alongside physical exercises, which is the approach most teachers use.
- Add the left hand carefully. Coordinating both hands is the main challenge for most beginners. Learn each hand's part separately until it is reliable before bringing them together. When you do combine hands, do it slowly and accept that you will slow down significantly at first. This is normal.
- Use the sustain pedal sparingly at first. The right pedal lifts the dampers and allows notes to ring. It can make everything sound richer — but it also blurs mistakes. Until you can play a passage cleanly without pedal, use it only when specifically needed for a musical effect. Many beginners use it as a crutch to hide unevenness, which delays technical development.
- Structure your practice sessions. A short session with intention beats a long one without direction. Spend some time on scales or technical exercises, some time on a piece you are working on — broken into small sections — and some time simply playing things you enjoy. End positively: play something you can already do well.
Common Mistakes to Avoid
- Playing through mistakes repeatedly. If a section keeps going wrong, slow it down and isolate the bars causing the problem. Practising mistakes at full speed just makes the mistakes more reliable.
- Tension in the hands or arms. If your wrists, forearms or shoulders feel tight while playing, stop and reset. Tension is inefficient and, over time, risks injury. A good teacher will spot this early and correct it.
- Skipping sight-reading practice. Learning pieces by ear is enjoyable but limited. Basic music reading opens up the full repertoire and makes every subsequent piece easier to learn.
Finding a Good Teacher
A qualified teacher makes an enormous difference, especially in the first year when physical habits are forming. Look for someone with a formal music qualification (ABRSM, Trinity, a music degree) and, if possible, ask for a trial lesson. Compatibility matters as much as credentials — the best teacher is one whose communication style works for you.
If in-person lessons are not practical, online teaching has become well established. The main limitation is that a teacher cannot physically guide your hand position, but most technical feedback can be given effectively over video.
What to Expect and When
After two to three months of consistent practice, most beginners can play simple pieces hands together, read basic notation and move between positions on the keyboard. After a year, the range of accessible repertoire expands considerably. The acoustic piano rewards patience — there is always more to learn, but each stage opens more musical doors than the one before.
For background on how the instrument itself works, the acoustic piano overview covers the mechanics and history. When you are ready to choose an instrument, the buyer's guide walks you through what to look for.





Comments