


Stentor article
Stentor for Beginners: A Complete Guide
A calm first-timer's guide to Stentor — choosing Student I, getting the size right, what a setup check means, and honest advice for your first weeks.
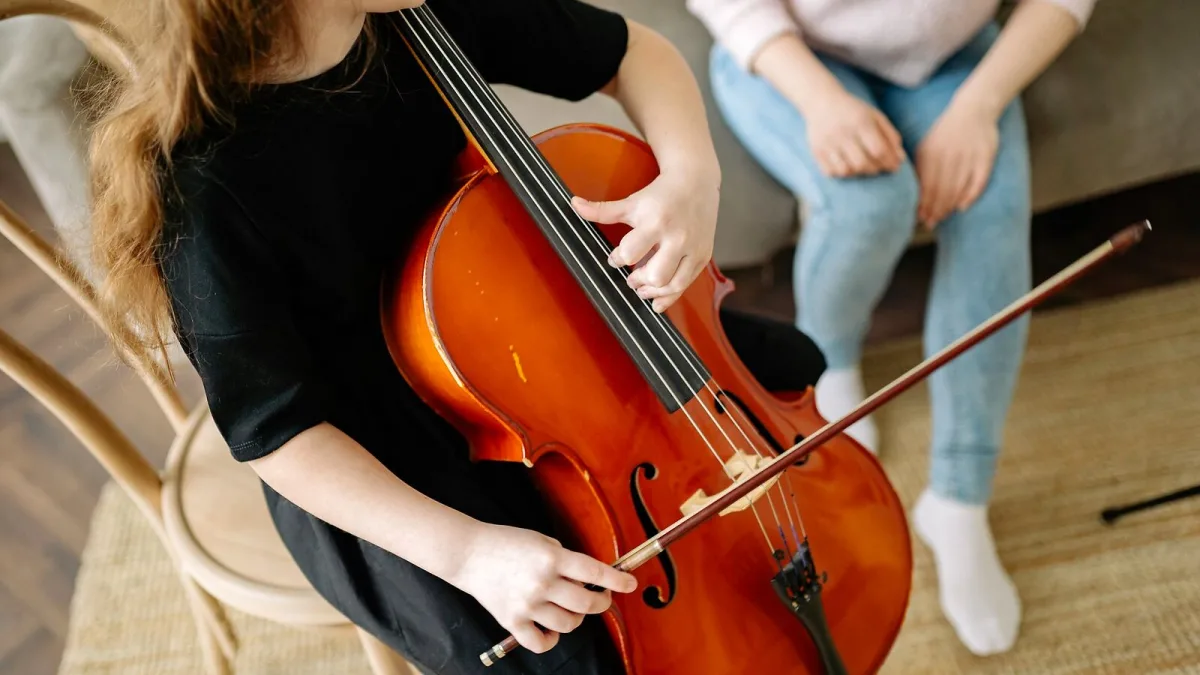
Every violinist, violist and cellist alive today started exactly where you are now: holding an unfamiliar instrument, unsure whether the noise coming out of it counts as music yet. It does, in its way, and it always will improve. The instrument maker Stentor has spent decades building instruments specifically for this stage — the first months, the first uncertain scrapes, the first proper note that finally rings true. Let me walk you through what that beginning actually looks like.
A Gentle Word of Reassurance
Nobody expects a beautiful sound in week one. String instruments are unusually demanding at the start — unlike a piano, where pressing a key guarantees a correct pitch, a violin or cello asks your ear and your left hand to find the right note together, with no frets to guide you. That's genuinely difficult, and the slow, sometimes squeaky early weeks are not a sign you've chosen the wrong instrument or lack any particular talent.
Choosing Your First Stentor
For a true beginner, a Student I outfit is entirely sufficient — solid-wood construction, a functioning bow and case, nothing more elaborate than that. There is no benefit to starting on a more expensive Stentor before you know whether the hobby will hold your interest, and a very great deal of benefit to starting on one that's correctly sized and properly set up. If you'd like to understand the fuller range above Student I before committing to lessons long-term, our complete buyer's guide lays out where each tier fits.
Getting the Size Right
This matters more than almost anything else at the start. Violins and cellos come in fractional sizes, and a well-meaning parent guessing by age can easily land on an instrument that's simply too large. Ask a teacher, or the shop selling the Stentor, to properly measure arm length and finger reach before you buy or rent. A correctly sized instrument makes early technique dramatically easier to build correctly the first time.
What to Expect From Your First Setup
Whatever Stentor you choose, ask that it be properly checked over before you take it home — the bridge sitting upright and correctly positioned, the strings at a sensible height above the fingerboard, the pegs turning smoothly, the bow's hair in good condition. This single step prevents most of the early frustration that has nothing to do with a beginner's own effort or ability, and everything to do with a poorly adjusted instrument fighting back.
Your First Few Weeks, Honestly
- Learn to hold the instrument comfortably first. Posture before pitch — a tense grip makes everything else harder.
- Get comfortable with the bow before worrying about the left hand. A controlled, even bow stroke is half the battle for a decent sound.
- Practise finding notes slowly, by ear, with a tuner nearby. Speed comes much later; accuracy comes first.
- Play a little every day rather than a lot occasionally. Short, regular sessions build the physical memory faster than long, tiring ones.
- Book a proper lesson early, even just one or two. A teacher catches habits in minutes that would otherwise take months to notice and unlearn.
None of this needs to happen quickly. Progress on a bowed instrument is measured in months, not days, and that's entirely normal.
Common Beginner Worries, Answered Plainly
- "It sounds scratchy." Almost always bow technique or pressure, and it improves quickly with a little guidance.
- "My fingers hurt on the strings." Calluses form within a few weeks of regular playing; it's temporary.
- "I can't tell if I'm in tune." Entirely normal at first — a clip-on tuner is a sensible early aid while your ear develops.
- "I don't know if this instrument is any good." A basic Stentor Student model, properly set up, is genuinely good enough to learn on for a year or more.
For a look at the errors that go beyond ordinary beginner teething troubles, our piece on common Stentor mistakes is worth returning to once you've had the instrument a little while.
Looking Ahead, Gently
You don't need to think about upgrading yet, but it helps to know the path exists: from Student I, most players move to Student II, then further up through Conservatoire, Elysia and Arcada as technique and ambition grow. Once you're past the earliest stage and curious about where your practice might lead, our guide to the best instruments for the money maps that whole ladder out.
The Bottom Line
A properly sized, properly set up Stentor Student instrument and a little patience are all a genuine beginner needs. The scratchy weeks pass faster than they feel, and everyone who now plays beautifully once sounded exactly like you do now.




Comments