


Addictive Drums article
Addictive Drums for Beginners: A Complete Guide
Addictive Drums 2 has a lot of new terminology for first-timers. Here's what each part of the software actually does — and how to get useful results in your first session.
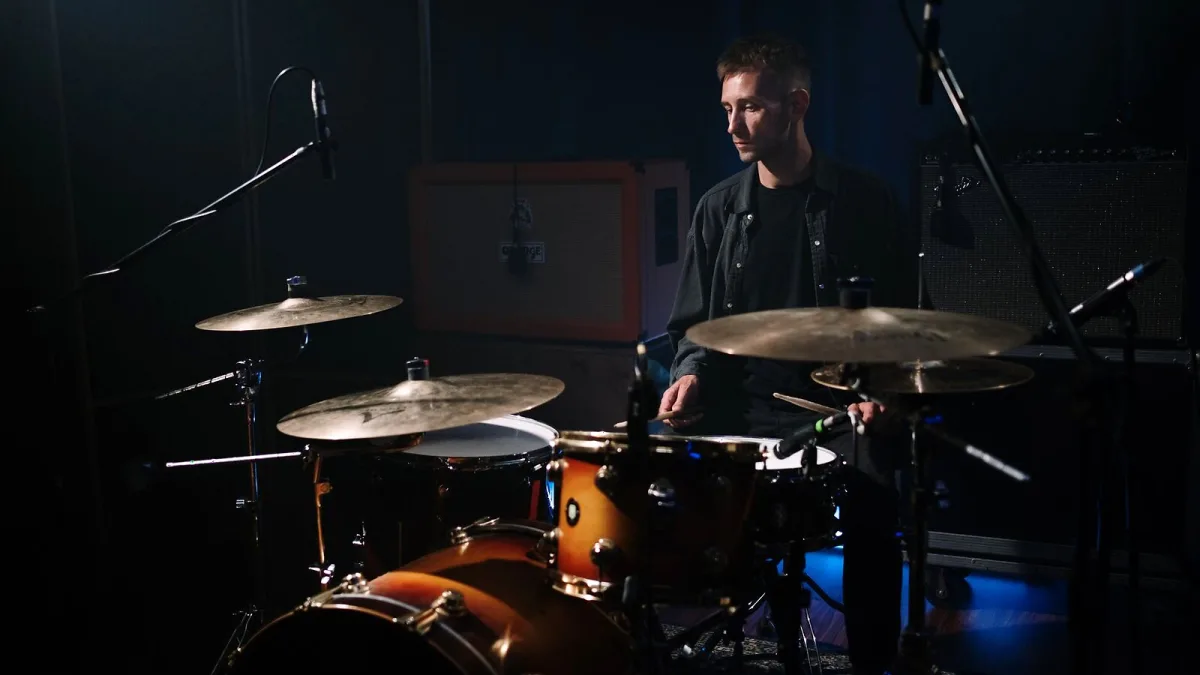
If you've never used a virtual drum instrument before, Addictive Drums 2 is a reasonable place to start — but the terminology and interface can make it feel more complicated than it is at first. Things like ADpaks, MIDIpaks, microphone perspectives, kit-piece slots — it's a lot of new vocabulary before you've even pressed play. This guide unpacks the core concepts, shows you what each part of the software actually does, and helps you get useful results without the usual first-session confusion.
What Kind of Software Is This?
Addictive Drums 2 (AD2) is a sample-based virtual drum instrument. That means every sound you hear came from a real acoustic drum kit, recorded in a studio with multiple microphones. The software plays those recordings back in response to MIDI notes — when you programme a kick drum note, AD2 plays the recorded kick sample at the right volume.
Why does this matter? Because sample-based instruments sound more realistic than synthesised drum machines. The samples are recorded at multiple velocities (strike intensities), so a soft hit sounds genuinely softer and slightly different in character from a hard hit. That variation is what gives programmed drums a convincing, organic feel rather than the robotic repetition of early digital drum machines.
The Three Product Types, Simply Explained
Addictive Drums separates its content into three categories, and understanding them saves confusion when you're browsing or buying:
- ADpaks are the sounds. Each ADpak is a recorded drum kit — a specific set of kick drums, snares, toms, hi-hats and cymbals, captured in a particular studio with a particular character. Think of it as the acoustic identity of your kit.
- MIDIpaks are the performances. A MIDIpak contains patterns — grooves, fills and variations that tell the drum kit what to play and when. On its own it makes no sound; it needs an ADpak loaded to play through.
- Kitpiece Paks let you swap individual components — a specific snare, a different kick, a particular set of cymbals — into a kit you've already loaded. If you like everything in an ADpak except the snare, a Kitpiece Pak lets you substitute just that one drum.
Understanding the Interface
The Addictive Drums interface is divided into pages. The main ones you'll use as a beginner are:
The Kit Page
This is where you see your drum kit laid out visually and configure each piece. Each component of the kit — kick, snare, hi-hats, toms, cymbals — has its own set of controls: tuning, volume, attack shape and some basic tone adjustments. You don't need to touch most of these to get a decent sound. Start by loading a production preset (a pre-configured mix included with each ADpak) and leave the details alone until you know what you want to change.
The Beats Browser
This is the most useful starting tool for beginners. It's a searchable library of MIDI patterns from any MIDIpaks you have installed, and you use it to find a groove that suits your project. Filter by genre, tempo or feel, click a pattern to audition it, and drag it into your DAW to use it. The whole process takes seconds once you know where things are.
The MIDI patterns aren't locked — once you've dragged one into your DAW, you can open it in your DAW's piano roll and edit any note, velocity or timing. Start with a groove from the Beats browser, then adapt it to fit your song rather than treating it as fixed.
The Mixer
Addictive Drums' mixer controls how the individual drum recordings are balanced. The important concept here is microphone perspective. When a drum kit is recorded in a studio, multiple microphones capture different aspects of the sound:
- Close microphones sit right next to each drum and cymbal. They give a direct, controlled, punchy sound with lots of definition.
- Overhead microphones are positioned above the kit and capture it as a whole — good for cymbal detail and overall balance.
- Room microphones are further back in the recording space, capturing the acoustic environment. More room mic makes the kit sound bigger and more spacious; less room mic sounds tighter and more contained.
As a beginner, start with a production preset and don't worry about the individual mic levels. Once you've used the software for a while and want the kit to sound different, the mic balance is usually the first thing to adjust.
Your First Session: A Practical Approach
Rather than trying to learn everything at once, here's a sequence that gives you useful results quickly:
- Load Addictive Drums on an instrument track in your DAW.
- Go to the Kit page and choose an ADpak. Select a production preset.
- Open the Beats browser and find a groove that roughly fits your project's tempo and style.
- Drag the groove into your DAW's arrange view.
- Press play and listen. Don't touch the mixer yet — just hear how it sits with your other tracks.
- If the groove is close but not quite right, open it in your DAW's piano roll and remove or adjust the notes that don't work.
That's a functional working method. Start there and add complexity — mixer adjustments, kit customisation, detailed MIDI editing — only when you know what problem you're trying to solve.
Common Beginner Mistakes
- Ignoring production presets. They exist precisely so you don't have to configure a mixer from scratch every session. Use them as a starting point.
- Using the same groove for the whole track. Real drumming changes between sections — the verse, chorus and bridge usually have different patterns, fills and intensities. Use different grooves from the Beats browser for different sections and add fills at section transitions.
- Not editing the MIDI. The patterns from a MIDIpak are someone else's performance. They'll rarely fit your song perfectly. Drag them in, open the piano roll and adapt them.
- Trying to adjust everything at once. Pick one thing to improve per session. Today, get the groove right. Next session, adjust the kit sound. The approach compounds.
Where to Go Next
Once you're comfortable with the Beats browser and the Kit page, the natural next areas are learning what the mixer's microphone controls actually do and understanding how velocity and timing affect the feel of a pattern. The Addictive Drums features overview covers the full toolkit in more depth. If you're still in the process of purchasing and want to understand the modular product structure, the buyer's guide explains what you get and what the expansions add. And if you've already got it installed and need to know the exact setup steps, the setup guide covers the process from the XLN Online Installer to your first working session.
The learning curve is gentler than it looks from the outside. Most people are making usable drum tracks within their first hour.




Comments