


Cakewalk article
Cakewalk for Beginners: A Complete Guide
Starting out with Cakewalk doesn't need to feel overwhelming. Here's a gentle, step-by-step way in for total beginners.
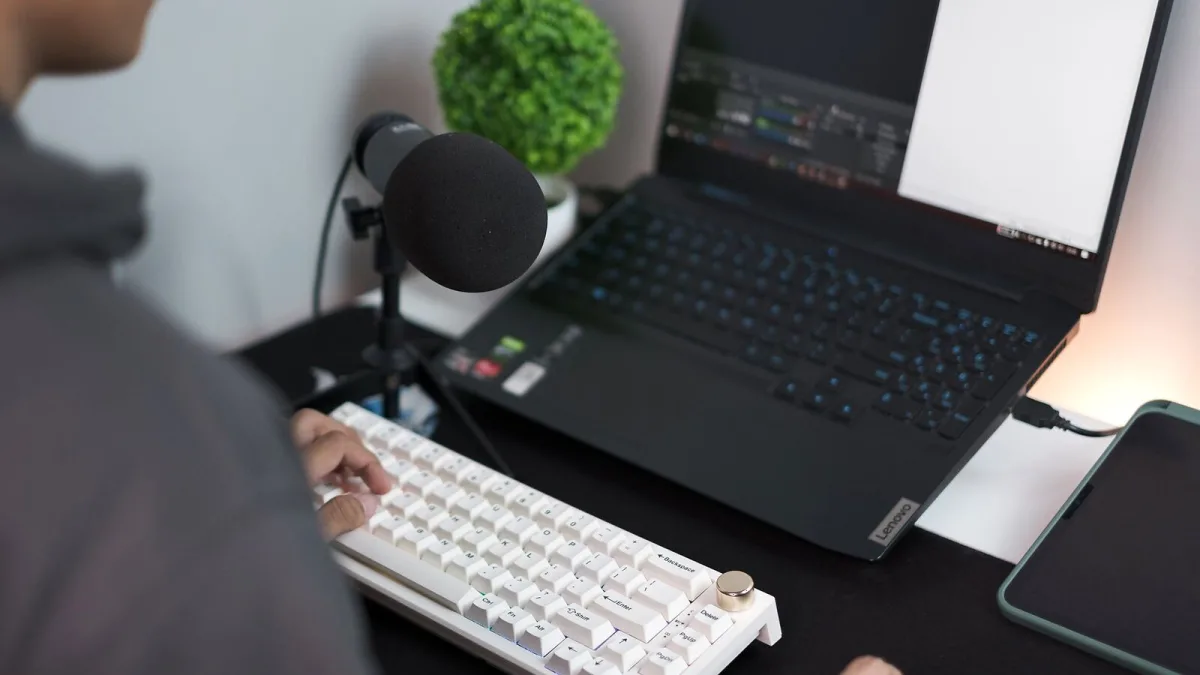
If you've just downloaded Cakewalk and you're staring at a blank project wondering where on earth to begin, take a breath. Everyone who now records confidently once sat exactly where you are. This guide is here to walk you through it gently, one small step at a time, with nothing assumed.
Quick check before you start
Cakewalk only runs on Windows, so if you've installed it and it opened without a fuss, you're already past the one thing that trips people up before they even begin. If you downloaded something called "Cakewalk by BandLab," be aware that version is no longer maintained — the current, actively developed version is Cakewalk Sonar, and that's what this guide assumes you're using.
The free version of Cakewalk is genuinely enough to start
You don't need to spend a penny to learn on this software. The free core tier includes unlimited tracks, the full Skylight interface, and enough built-in instruments and effects to make complete recordings. There's a paid membership available later if you want more, but nothing about starting for free will hold you back while you're learning.
Getting your bearings
A handful of words will keep coming up, so let's meet them gently:
- Track — a single lane for one sound, whether that's a vocal, a guitar or a whole drum kit.
- The Skylight interface — the overall window layout, covering the Track view, Console and Piano Roll editor among others.
- MIDI — performance data (notes, timing) rather than actual sound, used to trigger virtual instruments.
- Buffer size — a setting that trades latency against computer strain; small for recording, larger for mixing.
You don't need to memorise any of this today. It settles in naturally the more you open a project and have a look around.
Your first recording in Cakewalk, step by step
Here's a calm, no-jargon way through your very first take:
- Create a new project and choose a sensible sample rate (44.1kHz is a safe, standard default).
- Save it immediately into its own clearly named folder.
- Add one audio track for whatever you're recording first, such as your voice or an instrument.
- Plug your microphone or instrument into your audio interface and select that input on the track.
- Arm the track for recording and check your input level isn't peaking into the red.
- Press record, perform a few bars, then stop and listen back.
That's genuinely all you need for a first pass. Editing, mixing and effects are all things to learn later, once getting sound in and out feels comfortable.
Mistakes that are completely normal at this stage
You will probably forget to arm a track at least once, record something too quietly because gain staging takes practice, or lose track of which take was the good one. None of that means you're doing anything wrong — it's simply what learning looks like. Once the basics feel steadier, our common mistakes guide covers the slightly more advanced pitfalls worth knowing about.
When you're ready to explore further
Once recording feels natural, take a look at take lanes for comping between performances, and Arranger tracks for organising song sections without endless copy-and-paste. There's no rush to learn everything at once. When you want the fuller picture of what the software offers, our complete guide covers it without assuming prior experience, and if you're wondering whether the paid membership is worth it down the line, our value guide answers that honestly.
A gentle word of encouragement
Every confident Cakewalk user you admire once fumbled through exactly this stage, unsure which button did what. Keep your first sessions short, be patient with yourself, and trust that the awkward feeling passes far sooner than it seems like it will right now.





Comments