


Truss Lighting article
Truss Lighting for Beginners: A Complete Guide
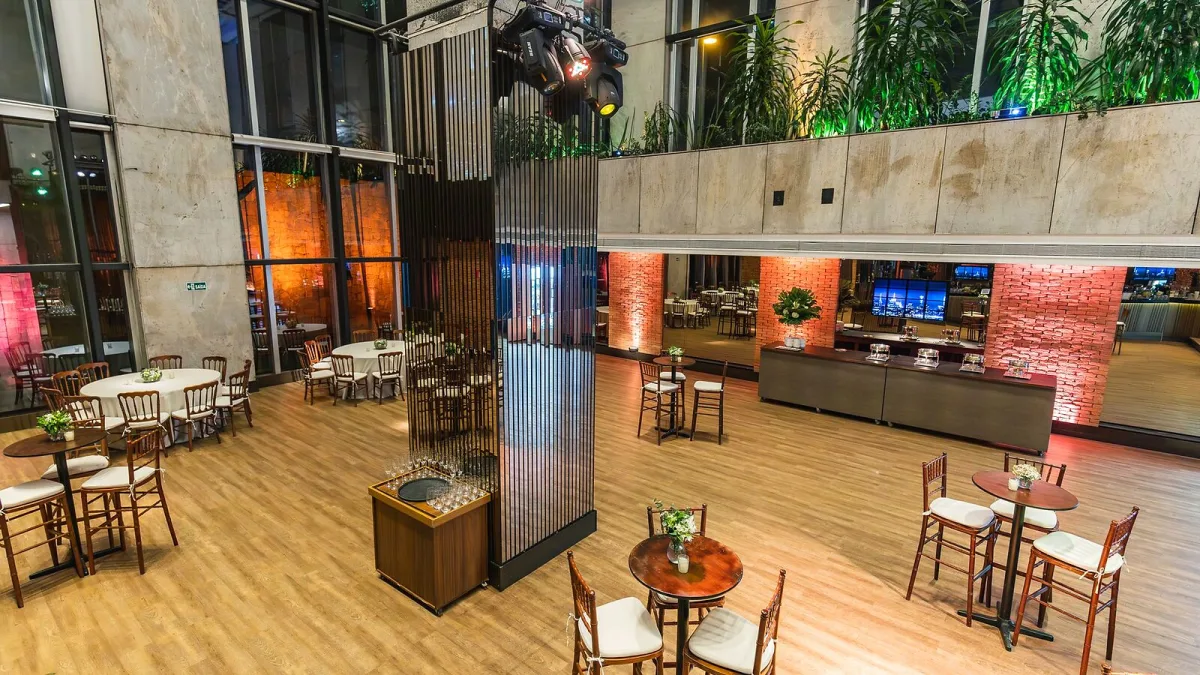
Setting up a truss lighting system for the first time involves structural, electrical and creative decisions across several disciplines. This guide walks through the process step by step, from planning the rig to operating the first show, at a level suited to someone new to the subject.
Planning the Rig Before You Buy Anything
Truss lighting starts with a floor plan. Measure the stage or performance space: width, depth and ceiling height. Decide where the truss will be positioned — front of stage (illuminating the performers), behind the performers (backlight for separation) or overhead (downlight and aerial effects). A single front lighting truss is the logical starting point for a small venue. Sketch the truss position, mark the height and note any ceiling features — beams, joists, HVAC equipment — that affect where rigging points can go. This drawing becomes the reference for all subsequent decisions. For a full technical overview of truss types and configurations, see the overview guide.
Understanding the Components
A truss lighting system consists of four main elements: the truss structure itself (aluminium lattice sections bolted together), the support system (either ground-support towers or ceiling rigging), the fixtures (the lights mounted on the truss) and the control system (a DMX controller and cable run to each fixture). Each element has its own specification and procurement decision. The truss must be rated for the total weight of all fixtures and accessories. The support system must carry the total weight of the loaded truss. The controller must have enough DMX channels to address all the fixtures. Think of these as four parallel specifications that need to match each other.
Ground Support: The Beginner-Friendly Option
For most people new to truss lighting, a ground support system — crank towers or tripod stands raising a horizontal truss run — is the practical starting point. No ceiling fixings are required. The truss is raised by the towers to the working height, and the fixtures point down at the performers. A typical beginner ground support rig uses two adjustable crank towers (typically adjustable to 3 metres) carrying a 4–6-metre run of box truss. Setting this up requires no specialist rigging knowledge, although you should read the manufacturer's load rating and ensure the fixture total weight is within limits. For buying recommendations, see the buyer's guide.
Attaching Fixtures Correctly
Each fixture attaches to the truss via a c-clamp (hook clamp) that grips the tube of the truss section. The clamp bolt must be tightened to the manufacturer's specified torque — hand-tight plus a quarter turn as a working approximation. Every fixture must also be secured with a safety bond — a steel wire or chain from a designated attachment point on the fixture to the truss tube. The safety bond is the backup in case the clamp fails or loosens. It is not optional. Inspect every clamp and safety bond connection before raising the truss, and re-inspect after the truss has been raised to working height.
DMX Control Basics
DMX is the communication protocol all professional lighting fixtures use. Each fixture is assigned a starting DMX channel address (typically set by a dial or menu on the fixture itself). The controller transmits 512 channels of data on a single universe; each fixture listens to its assigned range. Cable from the controller output to the first fixture's DMX input, then from that fixture's DMX output to the next, and so on in a chain. Use 5-pin XLR DMX cable (not standard audio XLR). Set each fixture's address to a non-overlapping start channel, referring to the fixture's manual for the number of channels it uses. A typical LED wash fixture uses 3–10 channels; a moving head uses 12–24 or more.



Comments