

Superior Drummer article
Superior Drummer for Beginners: A Complete Guide
A beginner's step-by-step guide to Superior Drummer: installation, interface navigation, DAW setup, using the groove library and adjusting the kit sound.
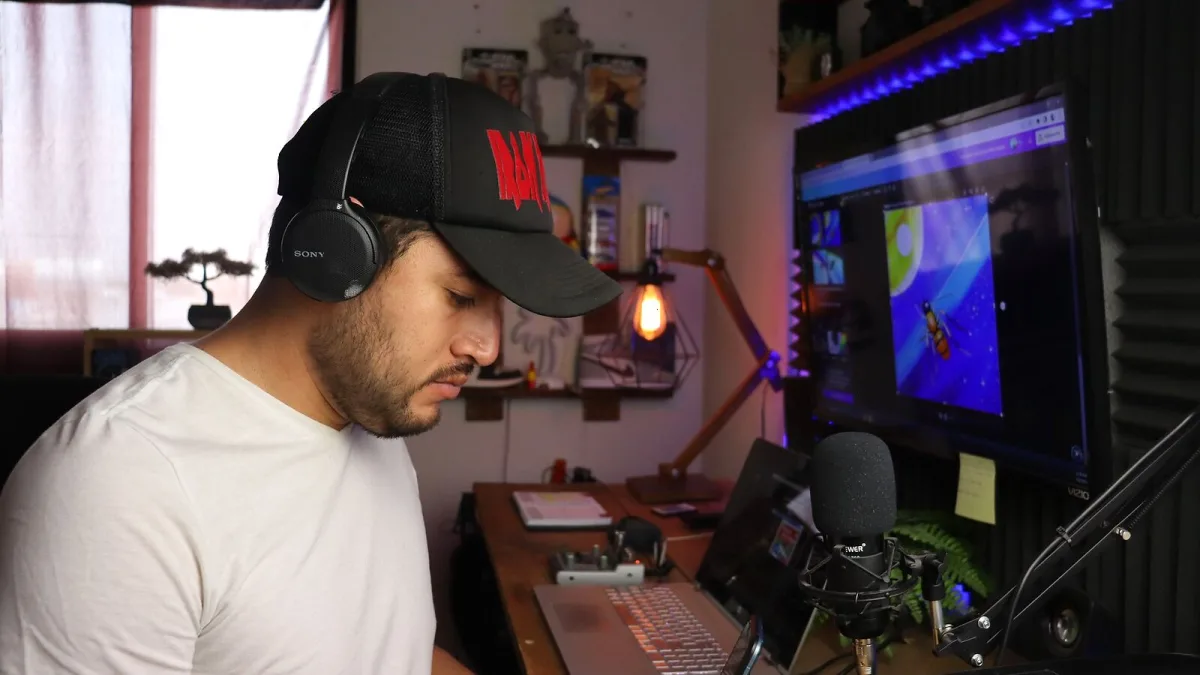
Superior Drummer can be daunting if you have not used a virtual drum plugin before. The interface is large, the feature set is extensive and the library is substantial. This guide focuses on the fundamentals: understanding the layout, getting a first kit playing in your DAW, and producing a useful drum sound without needing to explore every feature at once.
Installing and Authorising the Plugin
Download the Toontrack Product Manager application from the Toontrack website. This handles both the plugin installation and the library download. You will need a free iLok account to activate the licence — the machine authorisation option means you do not need a physical dongle. Once authorised, the Product Manager downloads and installs the base SDX library. On a typical broadband connection, the 22GB base library takes an hour or two to download.
Understanding the Interface Layout
Superior Drummer's interface is divided into several main areas. The kit view shows the drum kit graphically; clicking any piece brings up its parameters. The mixer view shows the multi-channel signal path with individual microphone channels. The MIDI view provides access to the groove library and pattern editor. The Grooves panel is where you browse and drag patterns to your DAW's timeline. Most beginners should start in the Kit and Grooves views and leave the Mixer at its default until they are comfortable with the basics.
Getting Sound into Your DAW
Load the plugin as you would any other instrument. In the default configuration, Superior Drummer outputs a stereo mix of the kit directly through the master channel. This is the simplest starting point — you get a ready-mixed drum sound without any further configuration. Later, you can set up multi-output routing to send individual microphone channels to separate tracks in your DAW, which gives you full control over the final mix. For a first session, the stereo output is entirely sufficient.
Using the Groove Library
The included MIDI groove library is organised by genre, feel, tempo and complexity. Browse to a style that fits your track, preview the groove by pressing play in the Grooves panel and then drag the pattern to a MIDI track in your DAW. The groove plays back through the plugin in real time. You can edit the MIDI pattern in your DAW's piano roll or MIDI editor if you want to adjust note positions, velocities or add fills. This workflow — browse, preview, drag, edit — handles most basic drum production tasks without requiring manual programming.
Adjusting the Kit Sound
The fastest way to change the sound in Superior Drummer without going deep into the mixer is to use the built-in presets. The Presets button (the star icon in the top bar) opens the preset browser, which includes factory presets organised by style and application. Loading a preset changes the kit configuration, mixer settings and effects in one step, giving you a production-ready starting point. Once you find a preset that is close to what you need, small adjustments to the overhead and room levels in the mixer usually complete the sound.
The Tracker Feature
If you have an audio drum recording that you want to replace or augment, the Tracker can convert it to MIDI. Drag the audio file onto the Tracker panel and the plugin analyses the kicks, snares and hi-hats, generating a MIDI pattern you can use to trigger the library samples. For beginners recording themselves playing an electronic kit or a practice pad, this is a straightforward way to get a realistic result without manual MIDI programming.
For purchasing information, see the buyer's guide. For a full overview, see the complete guide to Superior Drummer.





Comments