


Guitar Wall Mount guide
How to Set Up and Use Guitar Wall Mount
Tools out — here's the full process for fitting a guitar wall mount properly, from finding a stud to hanging your guitar with confidence.
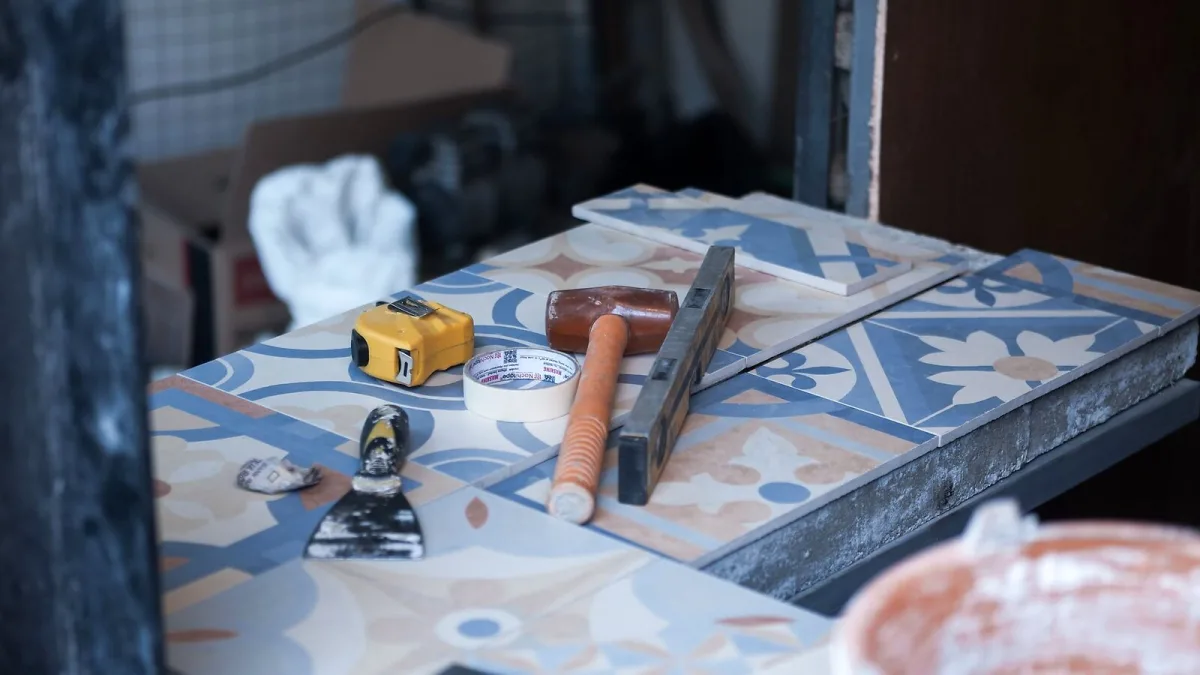
Right, tools out — let's actually get this thing on the wall. Fitting a hanger properly takes maybe twenty minutes once you know the order to do things in, and getting it right the first time means you're not doing it twice. Here's the whole process, from finding a stud to hanging your guitar and checking on it afterwards.
What You'll Need
- The mount itself, plus whatever screws and wall anchors came with it
- A stud finder
- A spirit level
- A pencil
- A drill, with a pilot bit sized for your fasteners
- A screwdriver
If the included fasteners aren't right for your wall — say the product assumes a stud but you're fixing into masonry — swap them for correctly rated replacements before you start, rather than making do.
Step-by-Step: Fitting the Mount
- Check what's included. Lay out the bracket, screws and any anchors, and confirm they suit your wall type before you drill anything.
- Find a stud. Run the stud finder across the area and mark the centre of a suitable stud with a pencil.
- Choose your height and level it. Hold the bracket where you want it — comfortably reachable, clear of doors and furniture — and use the level to mark the screw holes accurately.
- Drill a pilot hole. A pilot hole sized to your screws stops the wood splitting and makes driving the screw much easier.
- Fix the bracket firmly. Drive the screws in until they're snug, without stripping the hole or crushing the wall surface. If you're going into masonry or open drywall, use properly rated anchors rather than the wood screws alone.
- Test it before loading the guitar. Push down and pull gently on the bracket by hand. It should feel completely solid, with no flex or movement in the wall around it.
If your ideal spot doesn't line up with a stud, don't just fix into bare drywall and hope. A short horizontal board fixed across two studs, with the bracket then mounted onto that board, spreads the load properly and gives you far more flexibility over exactly where the guitar sits.
Using It Day to Day
Once it's fitted, using it is the easy part — but it's still worth doing properly. Support the body with one hand as you lift the guitar in, and guide the neck into the yoke rather than dropping it in from a height. Once it's seated, check the headstock isn't tilting oddly and that the neck sits centrally rather than resting against one side of the cradle. Taking it down again is the same process in reverse: support the body first, then lift the neck clear.
Keeping It Solid Over Time
A good fitting job doesn't mean you never think about it again. Give the screws and the bracket a quick check every few months — a wobble that wasn't there before is worth investigating straight away, not after it's gotten worse. Check any padding for compression or cracking too, since worn padding can shift how securely the neck actually sits. If something has started catching your eye during these checks, our list of common mistakes to avoid is a good place to see whether it's something to worry about.
The Bottom Line
Fitting a guitar wall mount properly is mostly about patience: find the stud, level it, drill it right, and test it before you trust it with your instrument. Do that once and you can genuinely forget about it, bar the occasional check-up. If you're still deciding which product to buy, our buyer's guide and full overview are worth reading first, and if you're brand new to this altogether, start with our beginner's guide instead.





Comments