


Guitar Pickups Humbucker guide
How to Set Up and Use Guitar Pickups Humbucker
A rainy-Sunday, talked-through guide to fitting a humbucker and setting the height right, plus what to do when something sounds off.
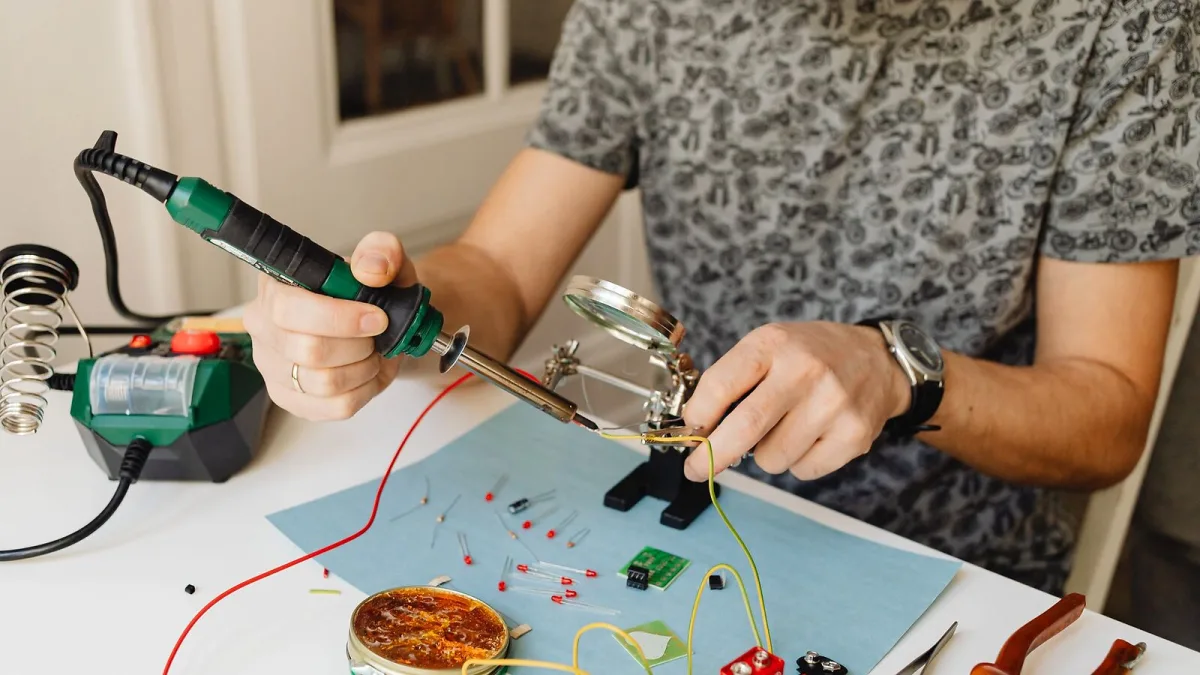
I still remember the first time I fitted a guitar pickups humbucker myself — a rainy Sunday afternoon, the guitar in bits on the kitchen table, absolutely convinced I was about to ruin it. I didn't. It took longer than it needed to because I was overly cautious, but that's honestly the right way round to get it wrong. Here's the setup I wish someone had talked me through, step by step, from getting the new pickup in to making it actually sing.
What You'll Need Before You Start
- A soldering iron (a basic 25-40W iron is plenty) and rosin-core solder
- A small screwdriver set for the mounting screws and pole-piece height
- The wiring diagram for your specific guitar and humbucker — don't guess this bit
- A phone camera, to photograph the wiring before you touch anything
- Good light and a bit of patience — this isn't a five-minute job the first time
Fitting and Wiring a Guitar Pickups Humbucker: Step by Step
This is the bit that looks intimidating written down and is genuinely manageable in practice, so long as you go slowly and don't skip the photograph.
- Photograph the existing wiring from a couple of angles before you desolder anything, so you have your own reference if the printed diagram is unclear.
- Desolder and remove the old pickup, noting which wire went where, then lift it out along with its mounting springs or ring.
- Seat the new humbucker in the mounting ring or pickguard route, checking it sits flat and the springs (if fitted) have even tension on both sides.
- Match the wiring diagram exactly, paying particular attention to polarity and phase — a humbucker wired out of phase with your other pickup gives a thin, nasal tone rather than a fault, so it's worth knowing what that sounds like.
- Solder each connection cleanly, using a light touch rather than a blob of solder, and keep the ground connection especially solid since a loose ground is the single most common cause of buzz.
- Test everything before closing the guitar up — plug in, check both pickups individually and together, and listen for hum or dead spots before you reach for the last few screws.
- Set the pickup height once everything's wired, adjusting the mounting screws so the pole pieces sit close but don't touch the strings anywhere on the neck.
Getting the Guitar Pickups Humbucker Height Right
This is where most of the actual "setup" happens, and it's easy to rush. Raise a humbucker too high and the magnetic pull can drag on the strings enough to cause odd tuning wobbles, uneven sustain or a slightly harsh edge to the tone. Too low and you lose output and presence for no good reason. A sensible starting point is around 2-3mm from the strings on the bridge side and a touch further on the neck side, fretting the highest fret and measuring down — then fine-tune it by ear, plugged into the amp you actually play through, both clean and with some drive on.
If you're still getting your head around what a humbucker is actually doing under the cover before you start adjusting it, our overview guide covers the coils-and-magnets basics this setup builds on.
When a Guitar Pickups Humbucker Sounds Off
A few gremlins turn up often enough to be worth naming in advance:
- Still hearing hum: check the ground connection first — a cold solder joint on the ground wire is the usual culprit, not the pickup itself.
- Thin, nasal sound with both pickups on: that's almost always an out-of-phase wiring issue between the two pickups, not a faulty humbucker.
- Weak or muddy tone: before blaming the pickup, check the height again and confirm you followed the diagram for series wiring rather than accidentally wiring it in parallel or split.
- Coil-split switch does nothing: this only works with four-conductor wiring, so a two-conductor humbucker simply won't support it, however the switch is wired.
If you're shopping for a replacement rather than fixing what you've already got, our buyer's guide covers the specs worth checking before you order, and it's well worth reading our rundown of common humbucker mistakes too, because most of them happen right here at the installation stage.
The Bottom Line on Guitar Pickups Humbucker Setup
Fitting and setting up a humbucker isn't difficult, it's just fiddly the first time — a bit like changing strings was before you'd done it thirty times. Go slowly, follow the diagram, test before you close things up, and trust your ears on the height. If you're completely new to all this, our beginner's guide to humbuckers is a gentler place to start before you pick up the soldering iron.






Comments