


Patch Cables article
Common Patch Cables Mistakes to Avoid
None of these are complicated once you know what to look for. Here's what actually trips people up with patch cables, soundcheck after soundcheck.
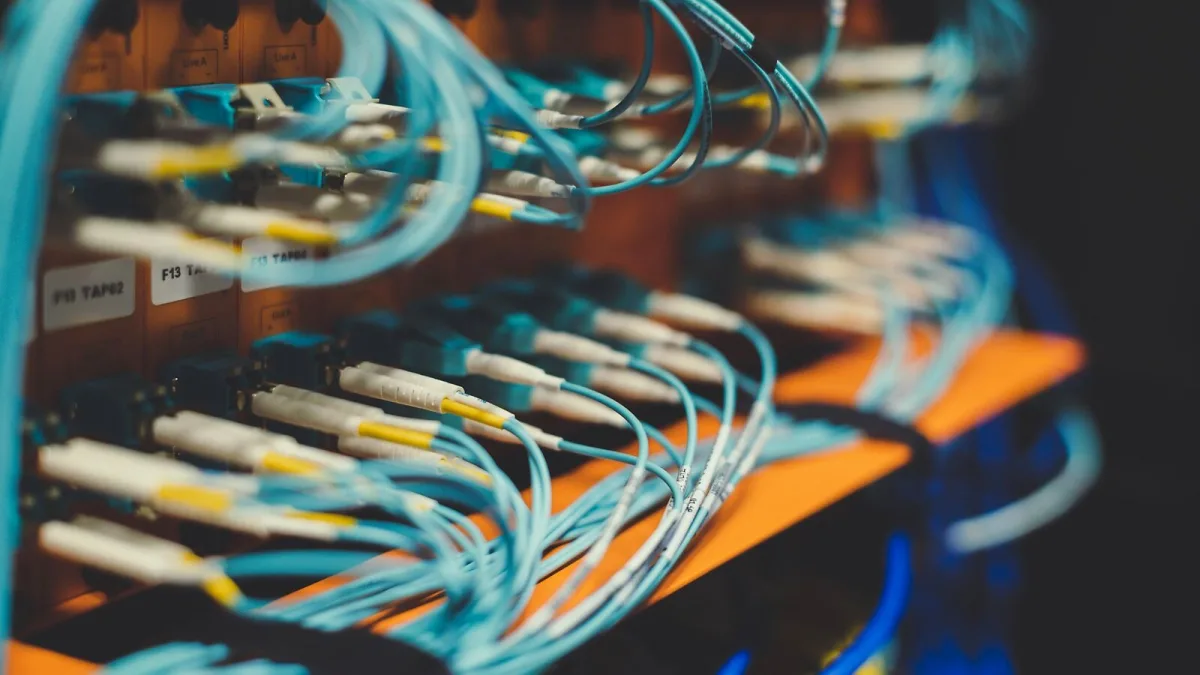
I've fixed enough dead signal chains at soundcheck to know these patch cables mistakes on sight now. None of them are complicated once you know what you're looking for — here's what actually trips people up.
Mistake: Buying One Length for the Whole Board
Pedals sit at different distances from each other, so one generic length forced across an entire board means loops, strain and unnecessary clutter. Measure each gap individually and buy accordingly, or use a solderless kit so you're not stuck with the wrong length at all.
Mistake: Assuming TRS Automatically Means Balanced
A TRS connector can carry a balanced signal, but plugging one into a normal mono pedal chain doesn't magically balance anything. The equipment's actual wiring decides that, not the plug shape. Don't pay a premium for TRS patch cables in a standard guitar rig expecting a noise-reduction benefit that isn't there.
Mistake: Ignoring Cable Capacitance With Passive Pickups
Every cable between a passive guitar and the amp adds to total capacitance, and that stacks up across the whole board, not just one lead. Chasing an expensive cable while running six feet of unnecessary length elsewhere is solving the wrong problem. Length matters more than the price tag here.
Mistake: Grabbing the Wrong Plug Shape
Right-angle plugs are brilliant on side-mounted jacks and useless, sometimes physically impossible, on recessed or top-mounted ones. Check your actual pedals before buying a full matching set, rather than assuming one plug style works everywhere on the board.
Mistake: Coiling Cables Tightly Around the Plug
This puts repeated stress exactly where cables fail first — right at the connector. Store cables in loose, consistent coils instead, and never let a pedalboard lid or flight case crush a plug when it closes.
Mistake: Blaming the Cable for Every Noise Problem
Hum, crackle and dropout can come from a damaged cable, sure, but just as often it's a dodgy power supply, a ground loop, daisy-chained digital pedals, or a faulty jack somewhere else entirely. Swapping patch cables randomly without isolating the actual source wastes time and sometimes money on cables that were never the problem.
Mistake: Skipping the Test Before a Gig
An untested cable is a gamble. Wiggle both plugs gently with a note ringing out, listen for crackle, and confirm each connector clicks in firmly. It takes ten seconds and it's considerably cheaper than a dead signal chain in front of an audience.
Quick Reference
| Mistake | Fix |
|---|---|
| One length for the whole board | Measure each gap; buy or cut accordingly |
| Assuming TRS means balanced | Check the equipment's actual wiring, not just the plug |
| Ignoring total capacitance | Keep every cable in the chain as short as needed |
| Wrong plug shape for the jack | Check jack position before buying a full set |
| Tight coiling around the plug | Store in loose, even coils instead |
| Blaming cables for all noise | Isolate the actual source before swapping gear |
Every one of these is easy to sidestep once you're expecting it. If you're still working out what to buy in the first place, our complete buyer's guide covers the full checklist, and our overview guide explains the different formats properly if any of this still feels unclear.






Comments