


5 String Banjo guide
How to Set Up and Use 5 String Banjo
A properly set-up five-string banjo is far more enjoyable to learn on. Here is how to fit strings, position the bridge, set the action and make your first sounds.
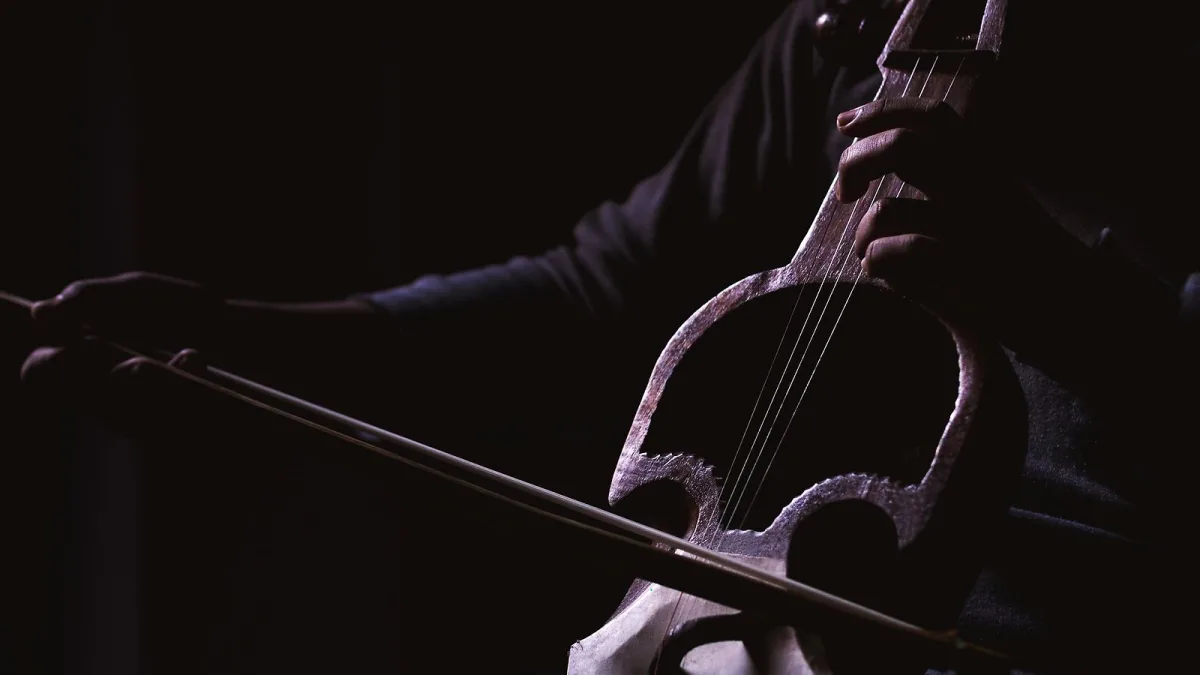
Setting up a 5-string banjo for the first time can feel like untangling a mystery — bridge placement, head tension, fifth-string capo, action height — but each step has a clear purpose and a clear method. This guide walks through the process from taking the instrument out of the case to making your first sounds, and then covers the basics of playing it. Take your time with each step; a well-set instrument makes everything that follows easier.
How to Set Up Your 5-String Banjo
- Fit the strings — if the instrument arrived unstrung or you are starting fresh, fit a set of light gauge banjo strings (D'Addario EJ60 or similar). Thread the loop end of each string onto the tailpiece hooks, then wind the other end onto the correct tuner peg. The fifth string is the short drone string that starts at the fifth fret position; its tuning peg is mounted at the side of the neck. Wind each string enough to hold, but do not tune to pitch yet.
- Position the bridge — the bridge is a small removable wooden piece that sits on the head between the tailpiece and the neck. It is not glued down; it is held in place by string tension alone. Place it roughly in the centre of the lower half of the head, then check intonation: fret a string at the twelfth fret and compare the harmonic with the fretted note. If the fretted note is sharp, move the bridge slightly away from the neck. If flat, move it toward the neck. The twelfth fret harmonic and fretted note should match for each string.
- Tune to open G — standard five-string tuning is g–D–G–B–D, reading from the short fifth string to the first. The fifth string is tuned to the highest pitch. Use a chromatic tuner or tuning app. Tune the fourth string (D) first as a reference, then work outward. The fifth string (short drone) is tuned to G above middle C.
- Check the head tension — tap the head near the rim all the way around and listen for even tone. A well-tensioned head rings clearly and consistently. If one area sounds dull or slack, use a head-tensioning wrench to tighten the corresponding bracket slightly. Go gently — a quarter turn at a time — and retune after each adjustment.
- Check the action — press the first string at the first fret and observe the gap between the string and the fret at the seventh fret. There should be a small but visible gap — around 1–2 mm. If the string presses almost flat against the frets, the action is too low and the neck may need professional attention. If it is uncomfortably high, the bridge height or nut may need adjusting.
- Retune and stabilise — new strings stretch considerably for the first few days. Play the instrument, retune, play again, retune again. After several sessions the strings will hold their tuning much more reliably. Do not be discouraged by the first day's constant retuning.
Basic Playing Positions
Sit with the pot resting on your right thigh (for right-handed players), the neck angling slightly upward and away from you. Some players prefer to stand and use a strap, which is entirely valid — banjos are lighter than they look. The right hand picks or strikes the strings over the head, roughly where the bridge sits. The left hand frets the neck.
Your First Right-Hand Techniques
Clawhammer (Old-Time)
The clawhammer technique uses a downward strike with the back of the nail of the index or middle finger on a melody string, followed by the thumb catching the fifth string drone on the offbeat. The rhythm is: strike down on the melody string, then pluck the fifth string with the thumb. This basic pattern — often described as "bum-ditty" — underlies nearly all clawhammer playing. Keep the motion relaxed and circular; the arm drives the motion, not just the fingers.
Three-Finger Picking (Scruggs-Style)
Three-finger picking uses the thumb, index finger and middle finger, usually with metal picks. The thumb covers the third, fourth and fifth strings; the index covers the second; the middle covers the first. The forward roll — thumb, index, middle, repeating — is the foundation. Practice it slowly, at an even tempo, before any attempt at speed. Speed is a product of consistency, not effort.
Tuning Variants and the Fifth-String Capo
When you play in different keys, the fifth string drone often needs to change too. A fifth-string capo — a small spike or sliding capo attached to the neck — allows you to raise the fifth string's pitch without full retuning. If your instrument has spikes at the seventh and ninth frets, a short loop of string hooked under the spike will raise the fifth string's open pitch to match the new key. This is the standard solution for playing in G, A and B on a normally tuned 5-string banjo.
Maintenance
A 5-string banjo requires less maintenance than many instruments but benefits from occasional attention. Wipe the strings after playing to extend their life. Check the head tension if the tone changes — humidity variations can slacken a head significantly. Oil the tuner gears very lightly if they feel stiff. The bridge position should be rechecked when you change string gauge.
The Bottom Line
A properly set-up instrument makes learning much easier, and most of the steps above can be done at home with no specialist tools beyond a tuner and a head-tensioning wrench. For guidance on which instrument to buy, our complete buyer's guide covers every decision. For a broader introduction to the instrument, the overview covers types, anatomy and notable players. For new players working on technique, our beginner's guide is the next step.





Comments